
Deploying VCF Identity Broker and Integrating LDAP: Step-by-Step Guide
In VCF 9, the VCF Identity Broker (VIDB) sits between your identity provider (here: Active Directory over LDAP) and the VCF management components. Instead of configuring LDAP separately in vCenter, NSX and VCF Operations, you configure it once in the broker and register those components as clients. Users then sign in once and get access to all of them.
In this post I deploy VIDB in appliance mode and connect it to your Active Directory over LDAPS. At the end I verify the result by logging in to vCenter, NSX and VCF Operations with a directory account.
Lab environment
- VCF 9.0.2, new install , or converged from vSphere 8.0 U3
- VCF Operations [version], VIDB deployed from VCF Operations > Fleet Management
- Directory: Windows Active Directory, domain domain.local, LDAPS on port 636
Prerequisites
Check these before you start. Most failed deployments I’ve seen come from one of them.
- DNS: forward and reverse records for the VIDB node(s) and the VIP, if you use HA
- NTP: all appliances and the domain controllers in sync. Kerberos and certificate validation both depend on it.
- Network: the VIDB network can reach the domain controllers on TCP 636 (LDAPS) or 389, and VCF Operations, vCenter and NSX can reach VIDB on port443
- Certificates: a certificate for VIDB with the correct SAN, and the root/intermediate CA of the domain controllers’ LDAPS certificate
- Service account: a read-only AD account for the LDAP bind, with a password that doesn’t expire
- Sizing: node size and count, for example single node for a lab, 3 nodes for production
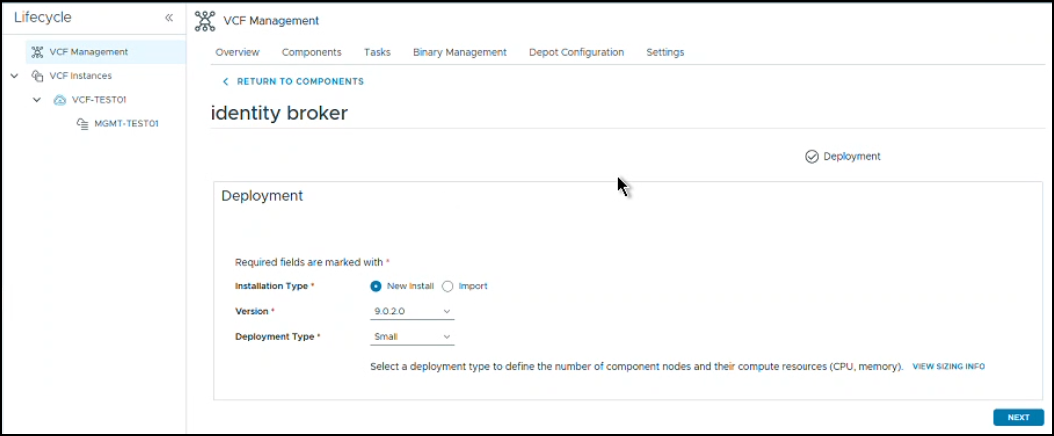
Step 1 – VCF Installation Overview
Step 2 – Certificate and Security Preparation
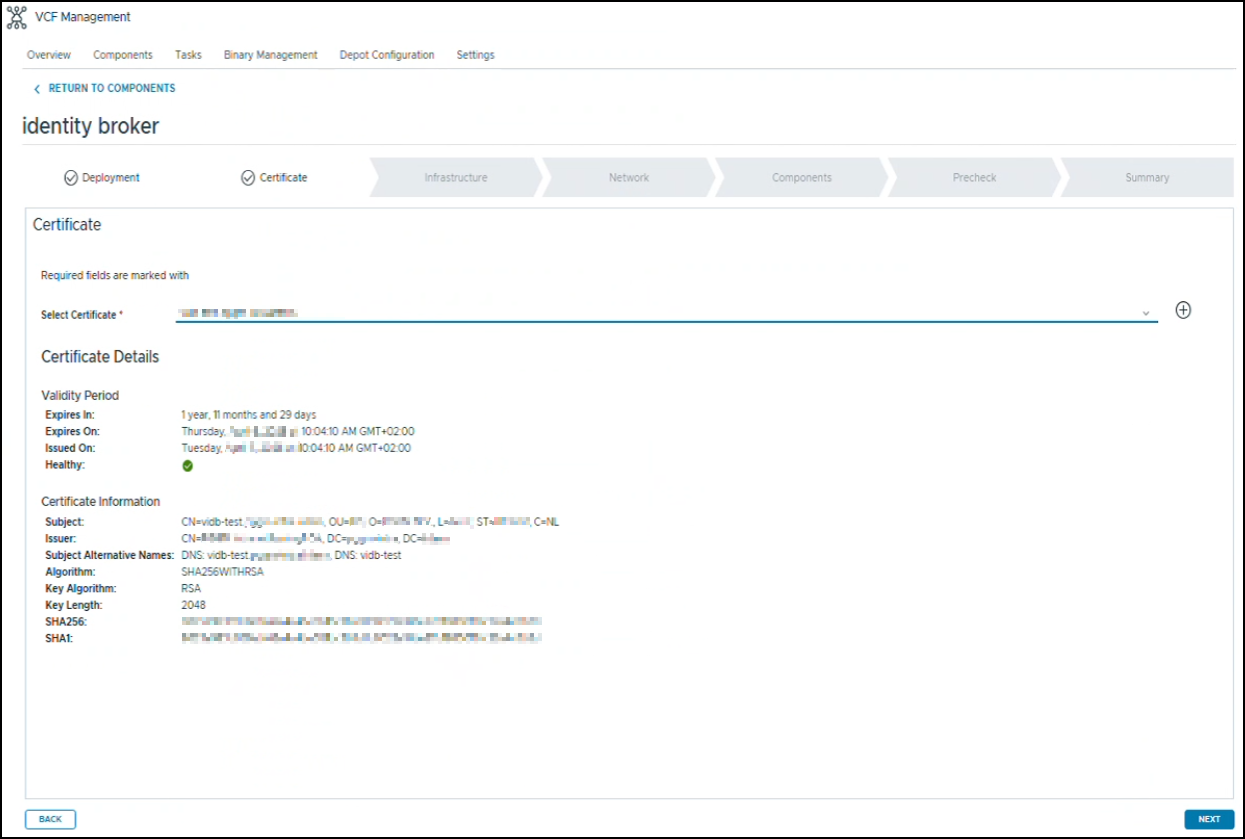
The wizard lets you either generate a certificate or import your own. For a lab, generating one is fine. For production I recommend importing a certificate signed by your own CA, so that browsers and the other VCF components trust it without extra steps.
If you import your own, the wizard expects a PKCS#12 file. That means you first create a key and CSR, have it signed, and then package the key, certificate and chain into one .p12 file:
# 1. Private key and CSR (adjust the SAN to your FQDN)
openssl req -new -newkey rsa:3072 -nodes \
  -keyout vidb.key -out vidb.csr \
  -subj "/CN=[vidb.domain.local]" \
  -addext "subjectAltName=DNS:[vidb.domain.local]"

# 2. After your CA signs it, package everything as PKCS#12
openssl pkcs12 -export \
  -inkey vidb.key -in vidb.crt -certfile ca-chain.pem \
  -out vidb.p12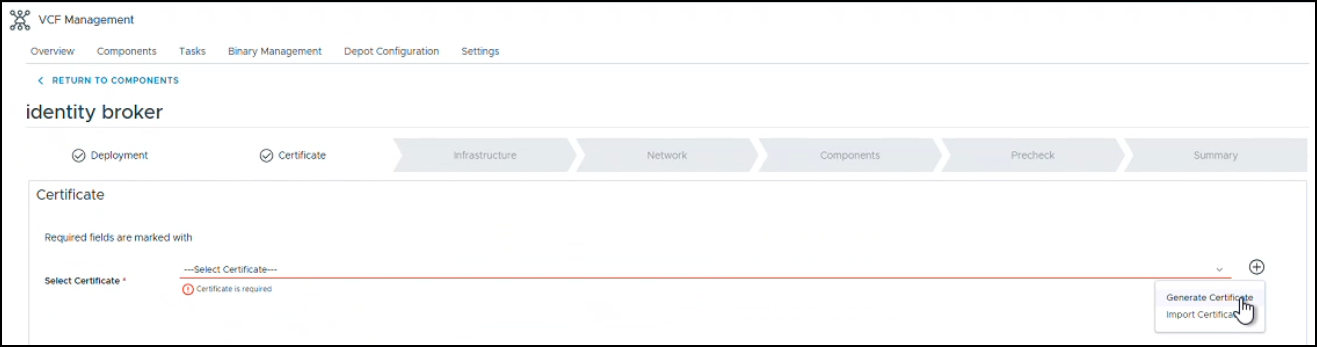
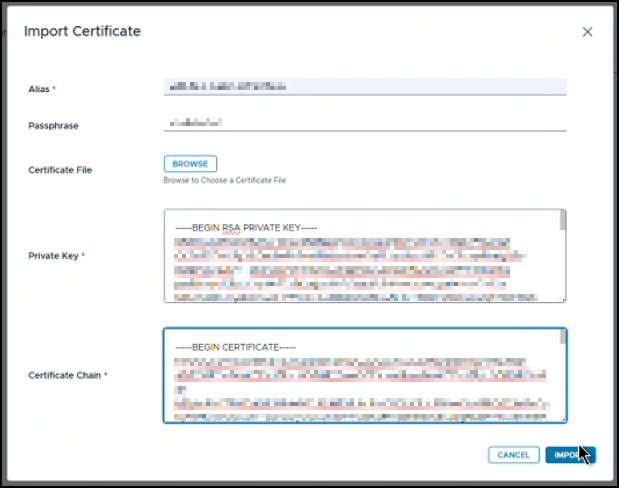
If you have your own CA certificates, please make sure they are formatted appropriately. The example below outlines the openssl command to generate certificates using the PKCS#12 format.  Generate certificates if needed using OpenSSL.
Import the certificates into the appliance to ensure trust between VCF components.
After the import, check the details: the subject, the SAN and the validity period.
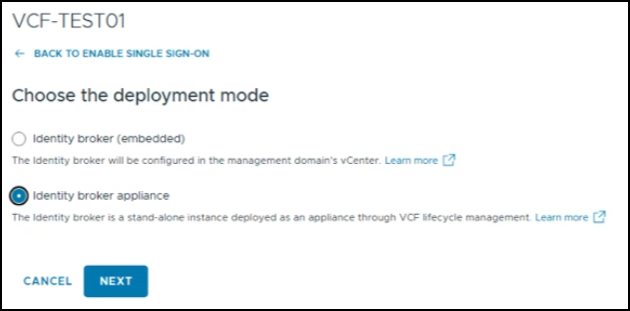
Step 3 – Deploying the Identity Broker appliance
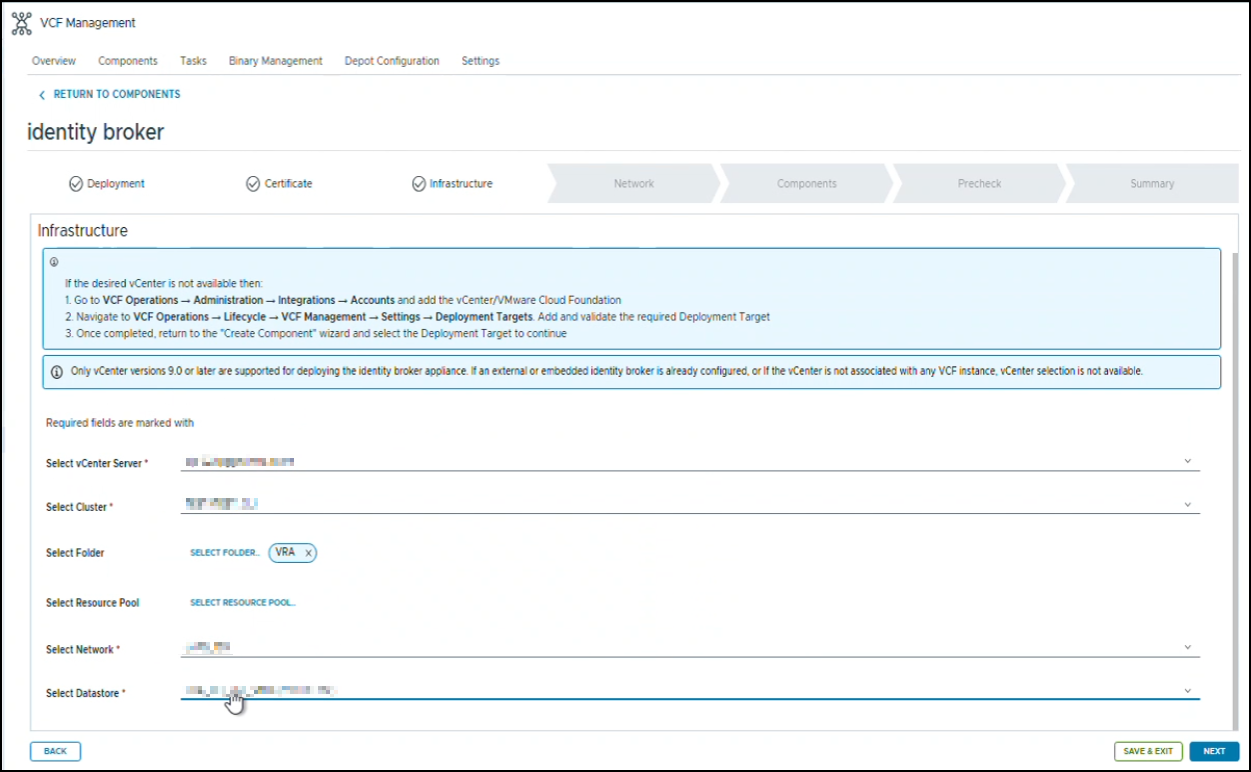
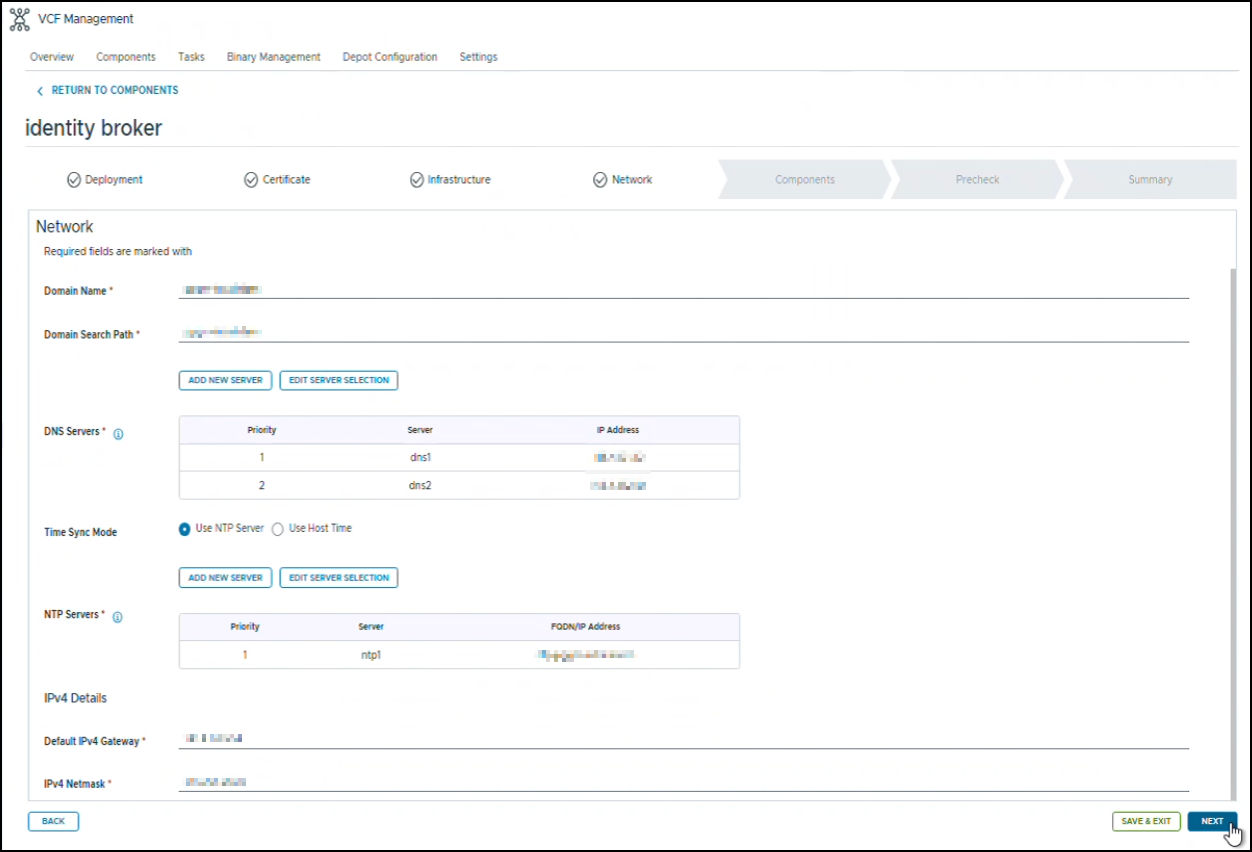
Next the infrastructure and network details.
Why appliance mode instead of the embedded broker in vCenter?
The embedded broker runs as a service inside a single vCenter, so its identity configuration and availability are tied to that one vCenter and the domain it manages. The appliance runs on its own, independent of any single vCenter, and can serve several VCF instances and components (vCenter, NSX, VCF Operations) from one central point. That means you configure the identity provider once, manage access in one place, and keep authentication working when an individual vCenter is being upgraded or is unavailable. The appliance can also be deployed as a multi-node cluster for high availability. The trade-off is one extra component to deploy, size, certify and maintain. For a single, small environment the embedded broker can be enough, but for a multi-instance or production fleet the appliance is the more scalable and resilient choice.
Check the exact limits of both modes (multi-instance support, HA options) against the documentation for your VCF version before publishing.
Step 4 – Deployment Execution
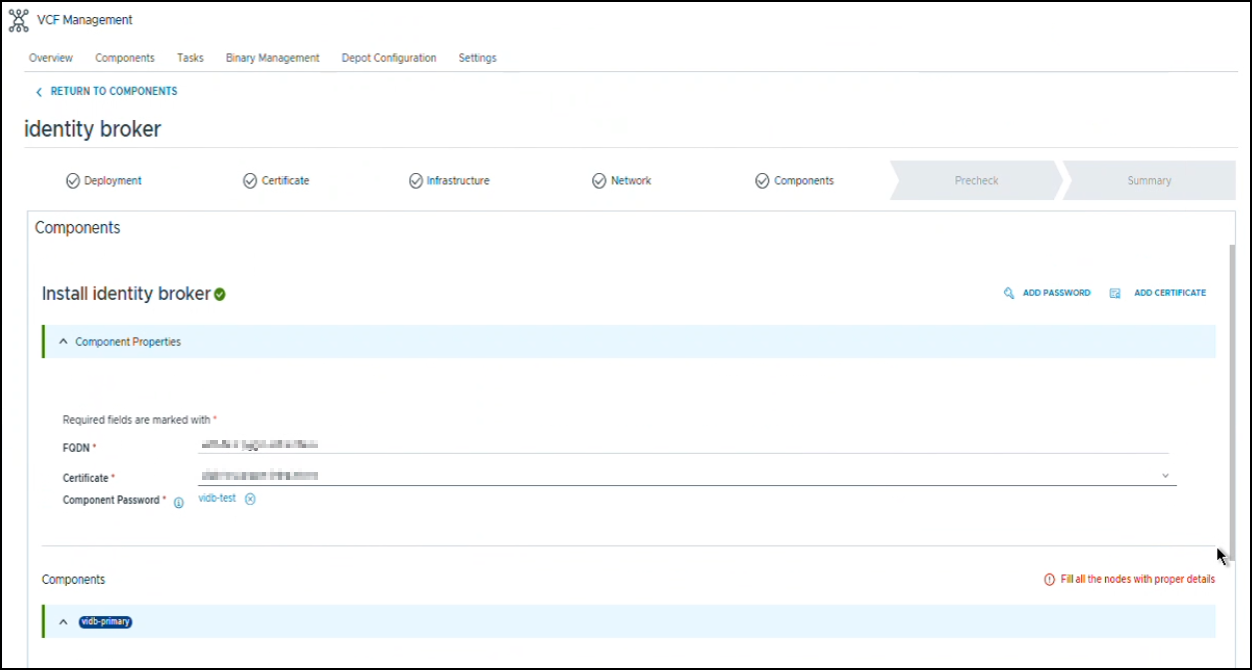
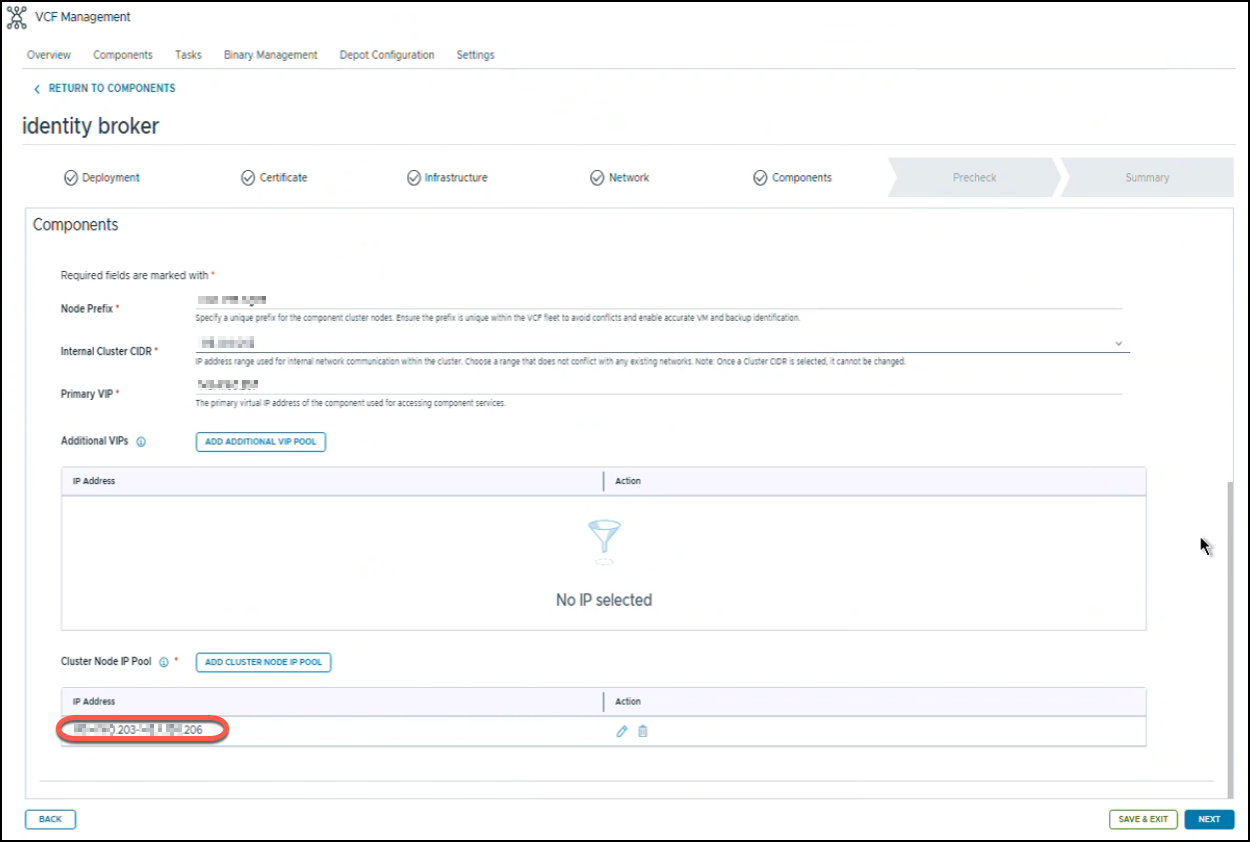
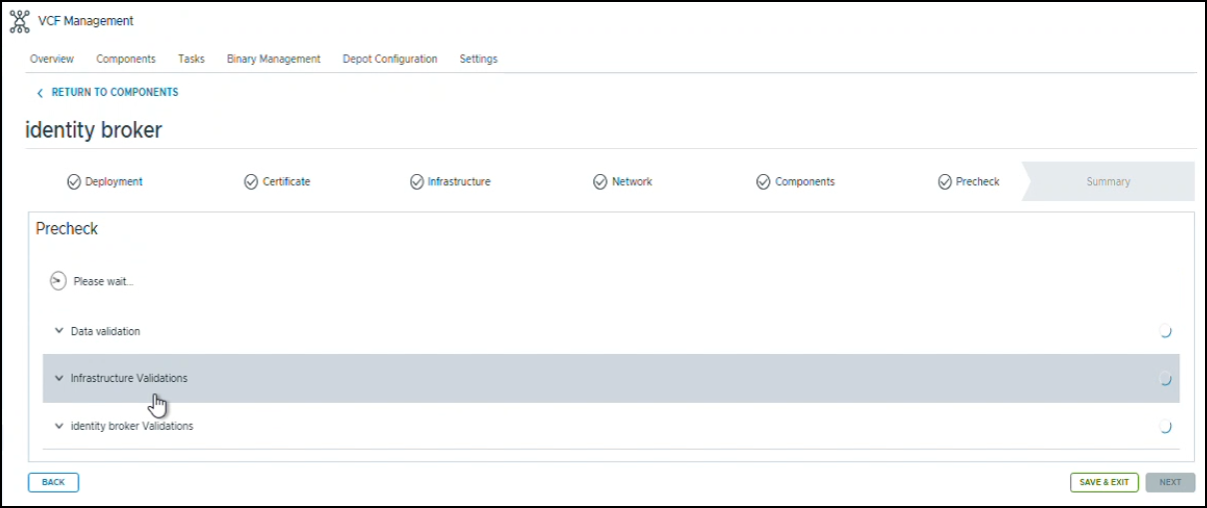
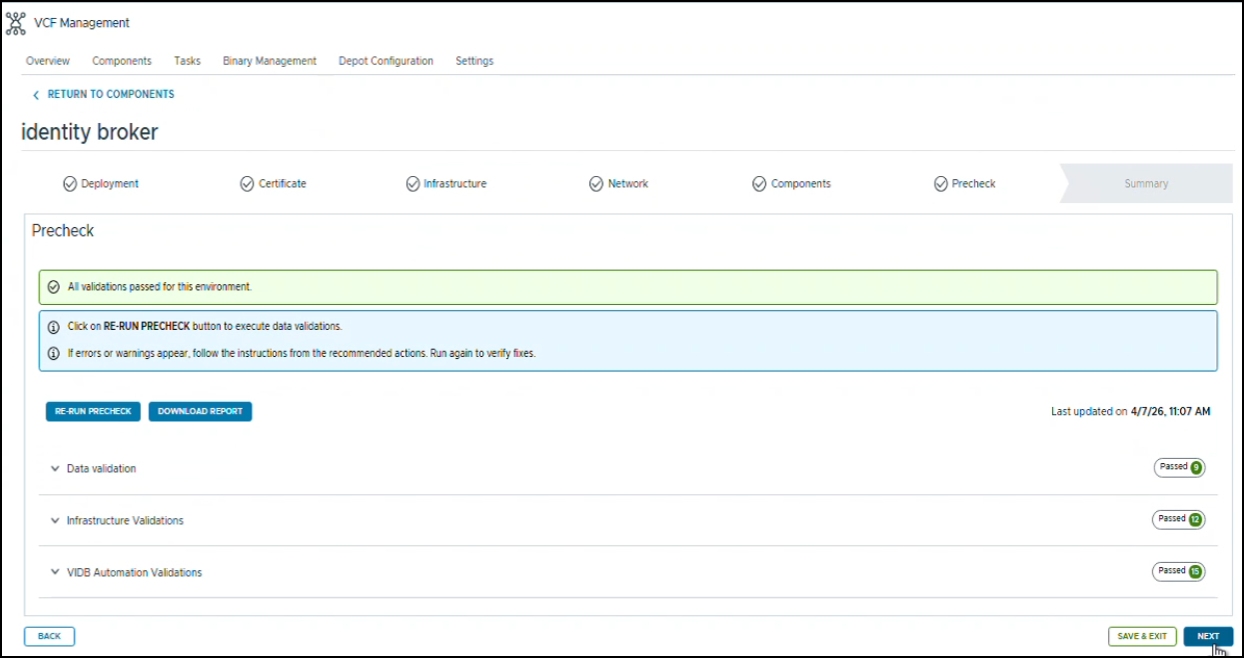
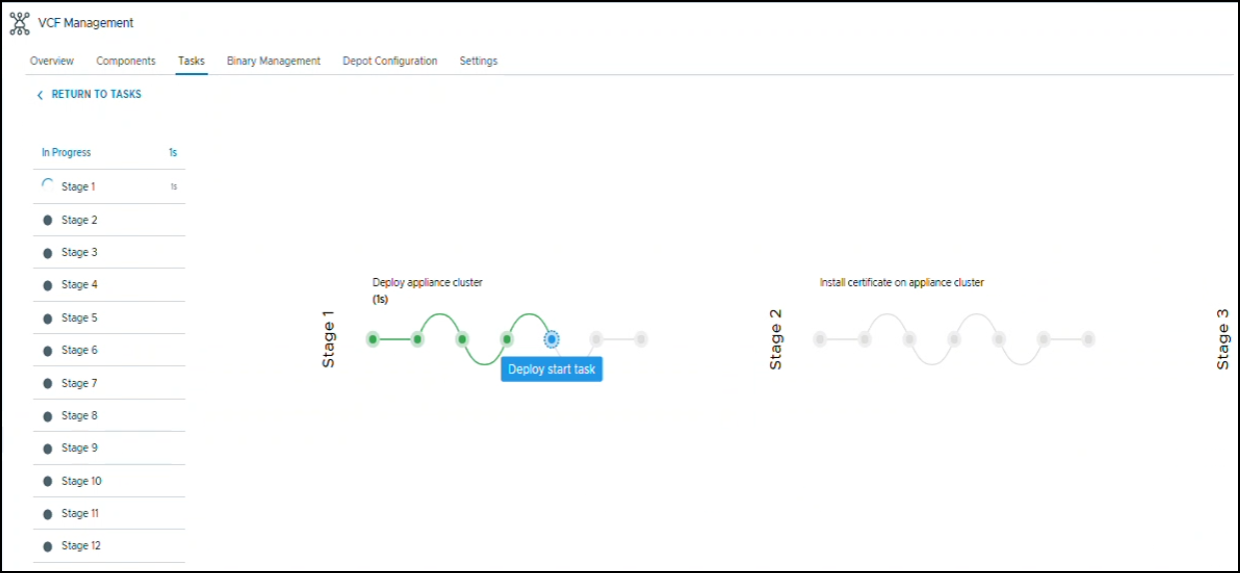
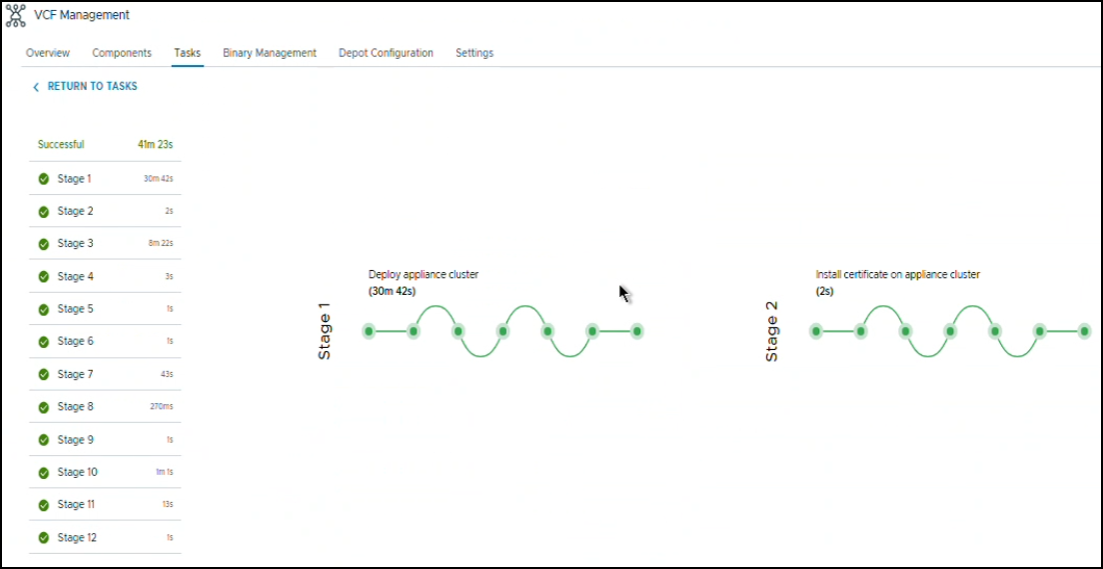
The deployment took about 40 minutes in my lab.
Step 5 – Identity Broker Initial Configuration
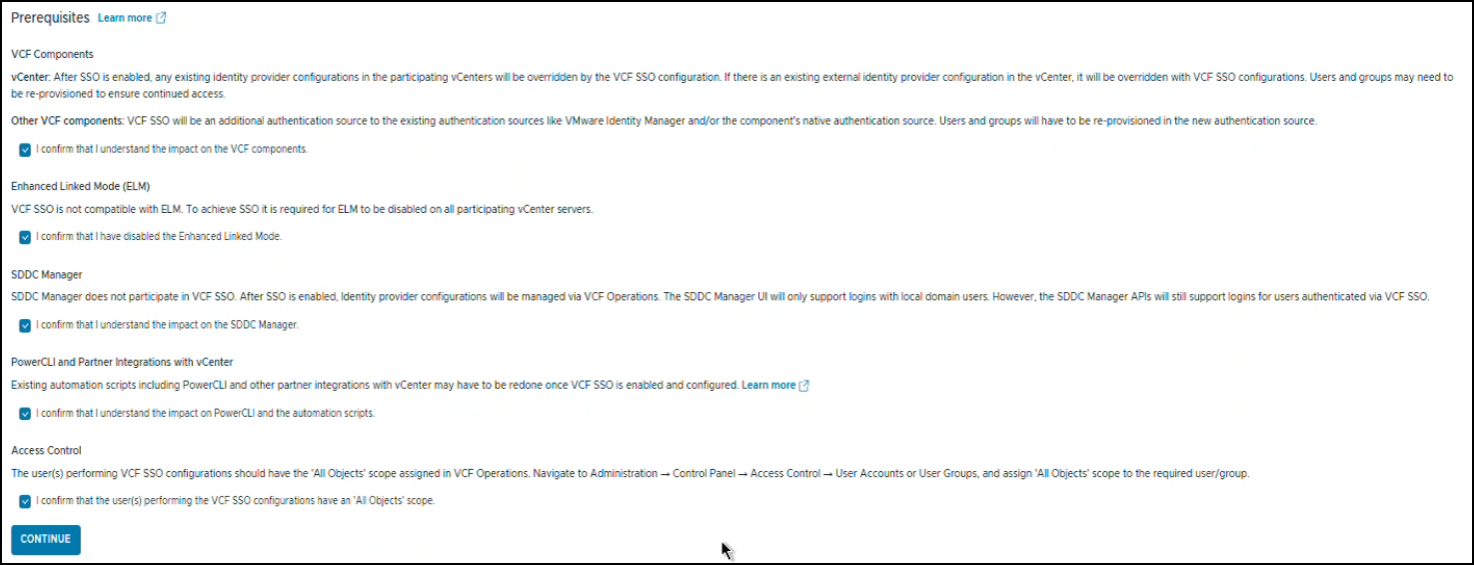
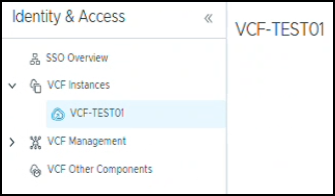
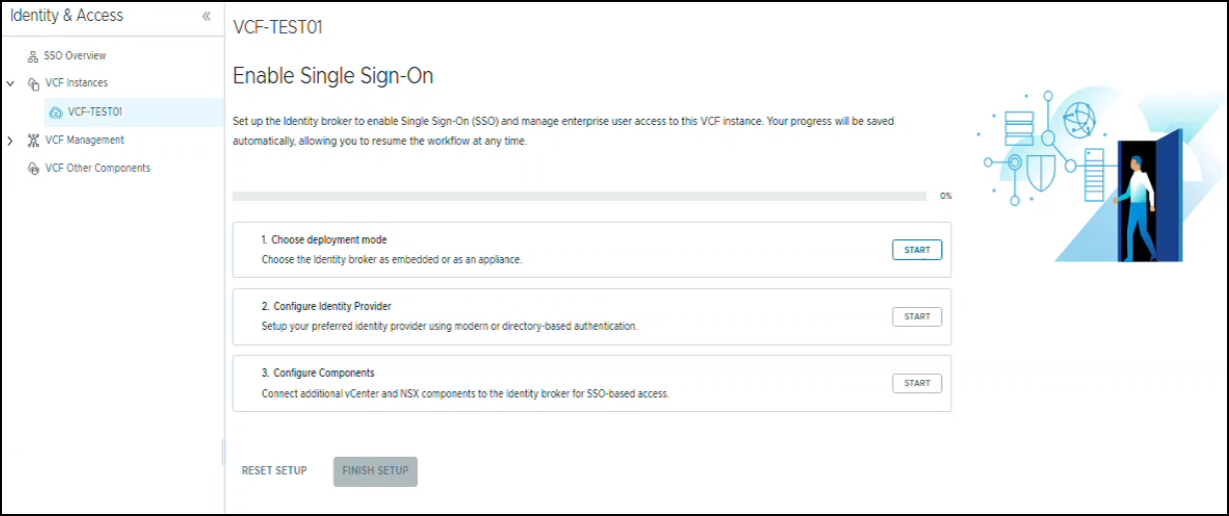
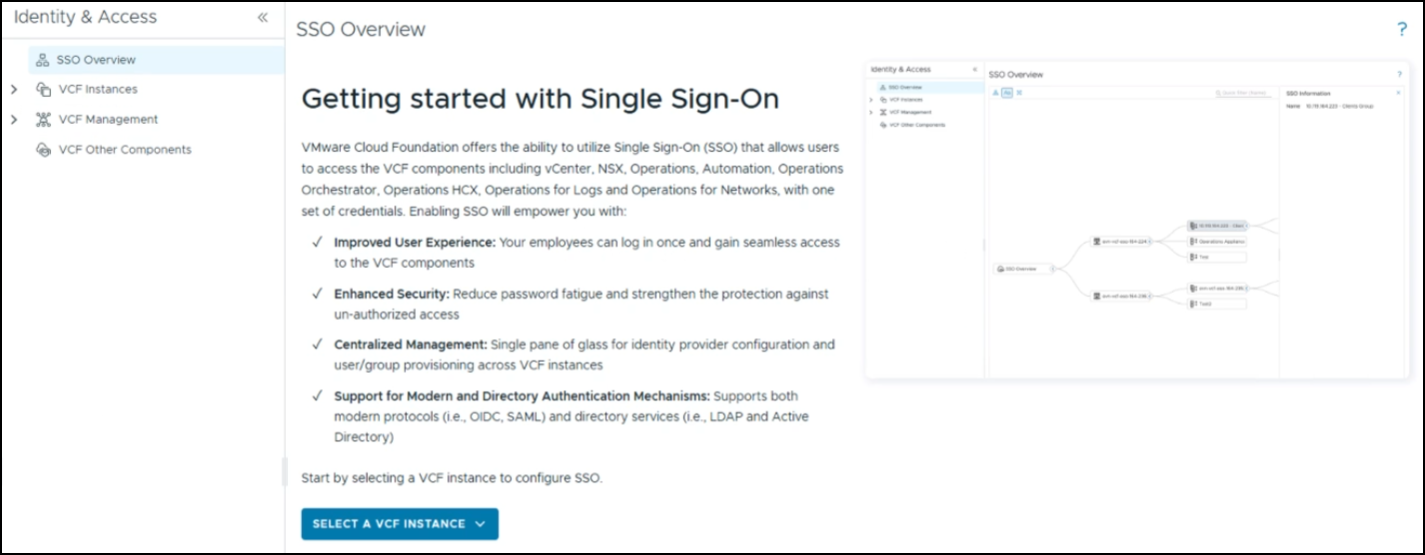
In VCF Operations, open the single sign-on settings and start the three-step enablement.
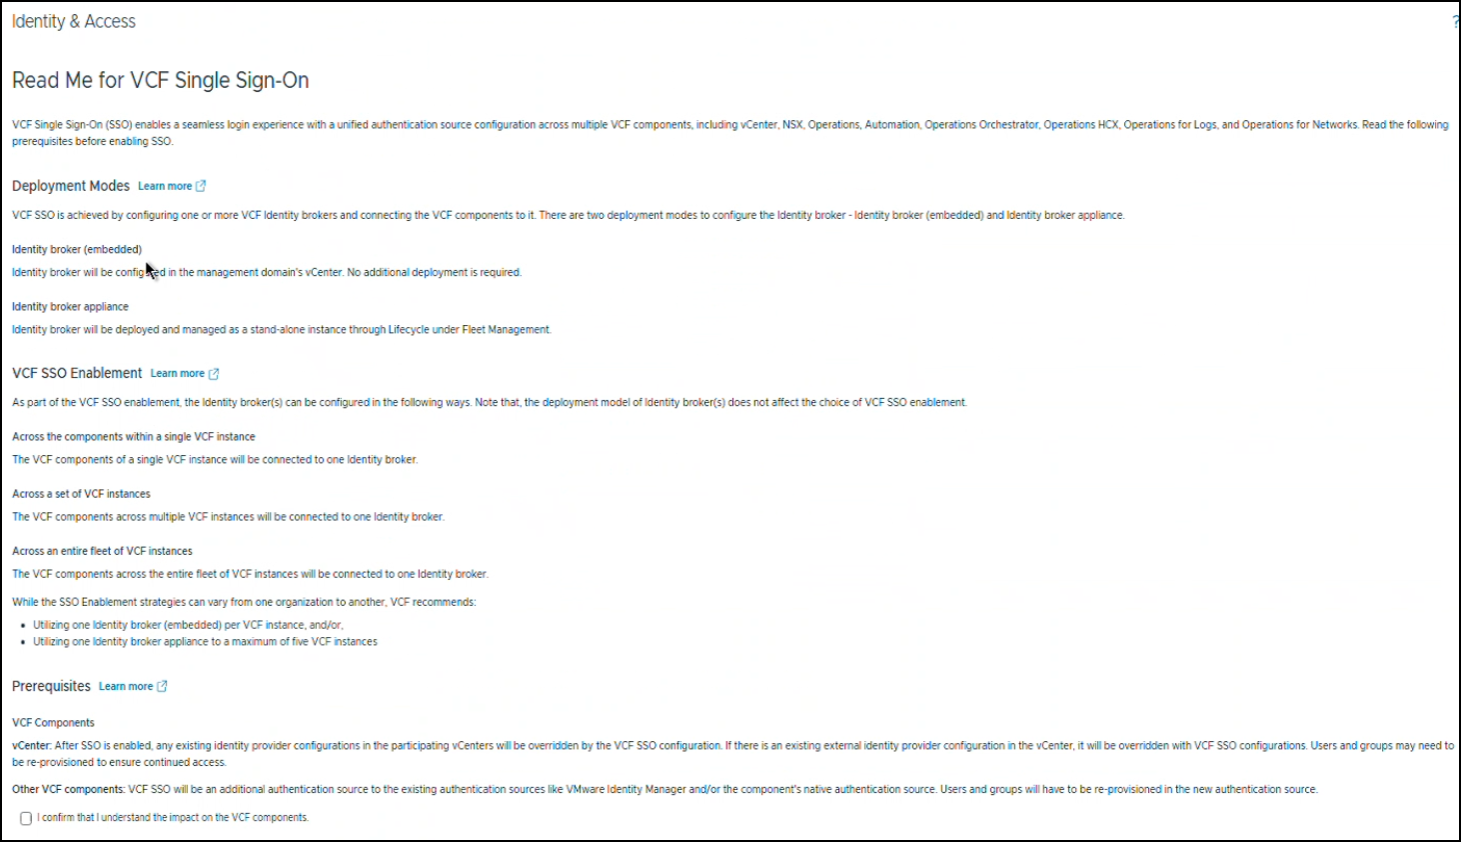
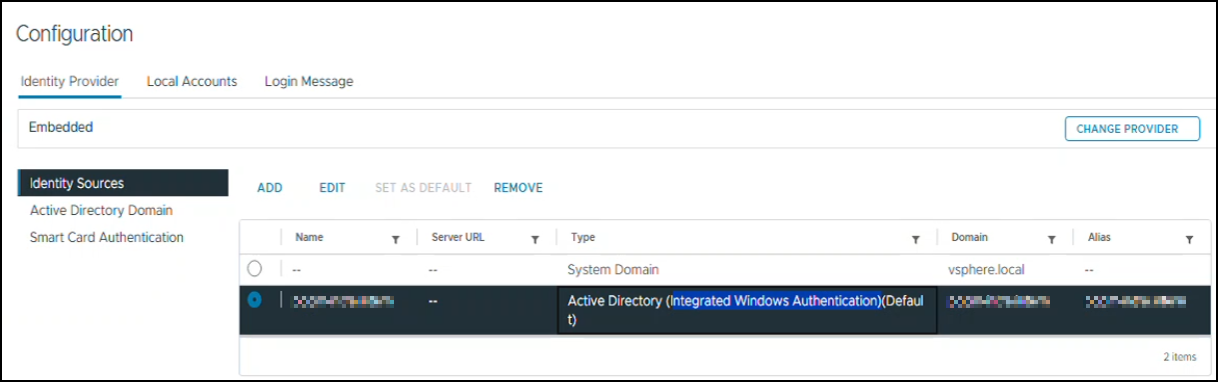
On the way, the wizard asks you to confirm that Integrated Windows Authentication (IWA) is not in use. VIDB takes over authentication for vCenter, and vCenter can’t use the broker while an Integrated Windows Authentication (IWA) identity source is still configured. Remove the IWA source first, so the two methods don’t conflict.
Step 6 – Configuring LDAP Integration
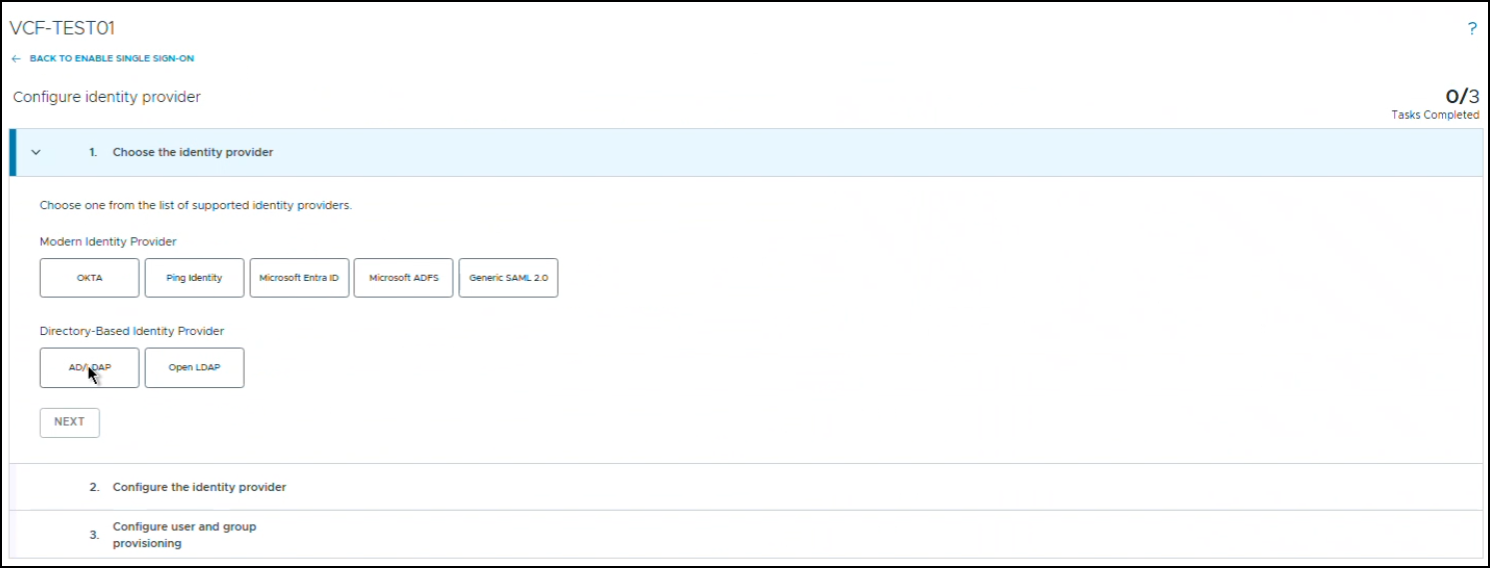
This is the core of the setup. Select the directory type and fill in the connection details.
Step 7 – Operations Appliance Configuration
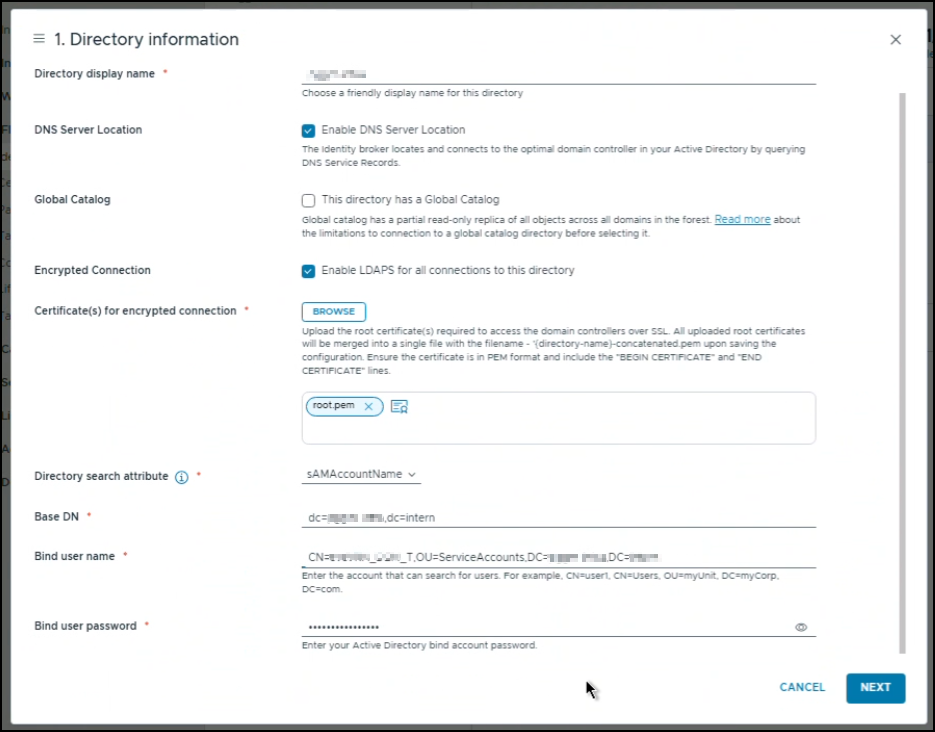
Use LDAPS, not plain LDAP. The bind password and the user data would otherwise cross the network in clear text. This also means the domain controller’s certificate chain must be trusted by VIDB. A missing CA here is the most common cause of a failing connection test.
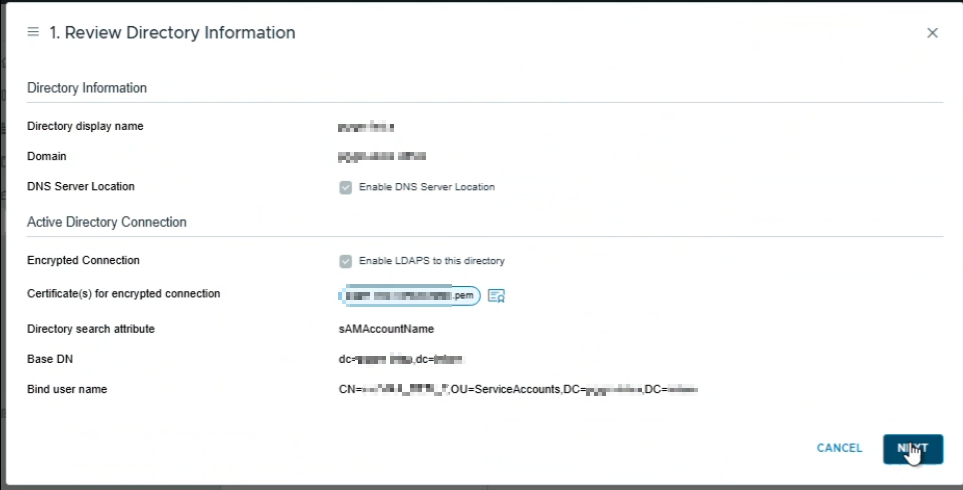
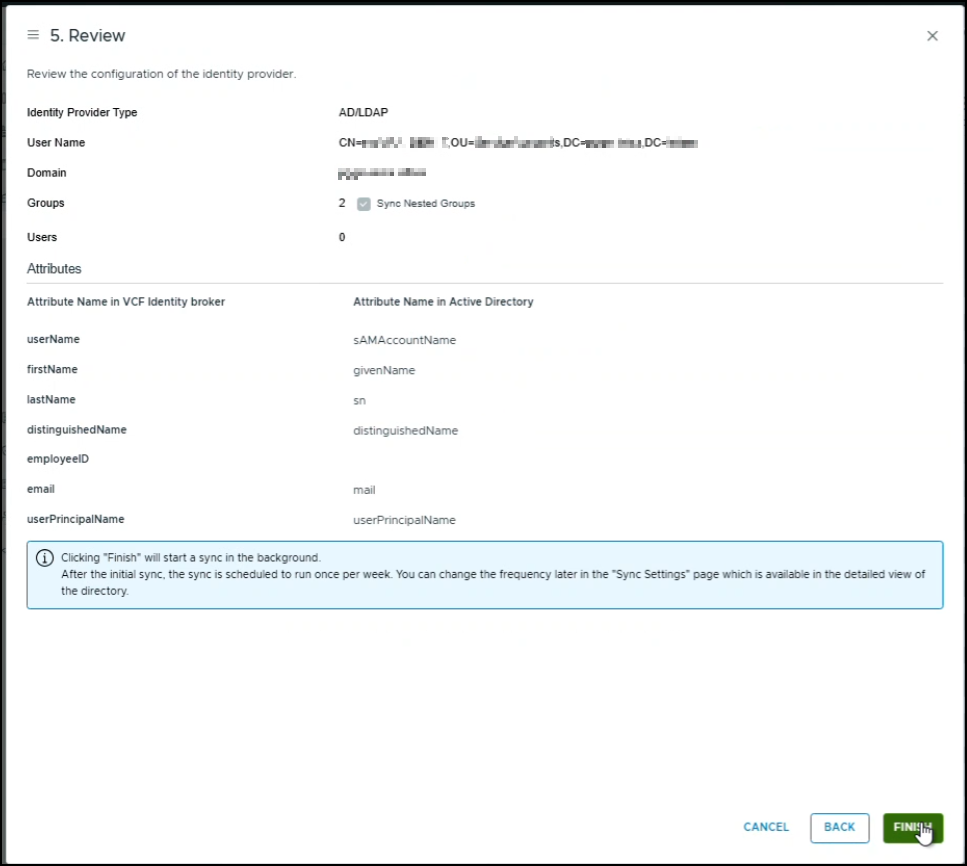
After the connection test, review the directory information that VIDB retrieved.
Review LDAP configuration on the appliance.
Step 8 – Verification and User Group Import
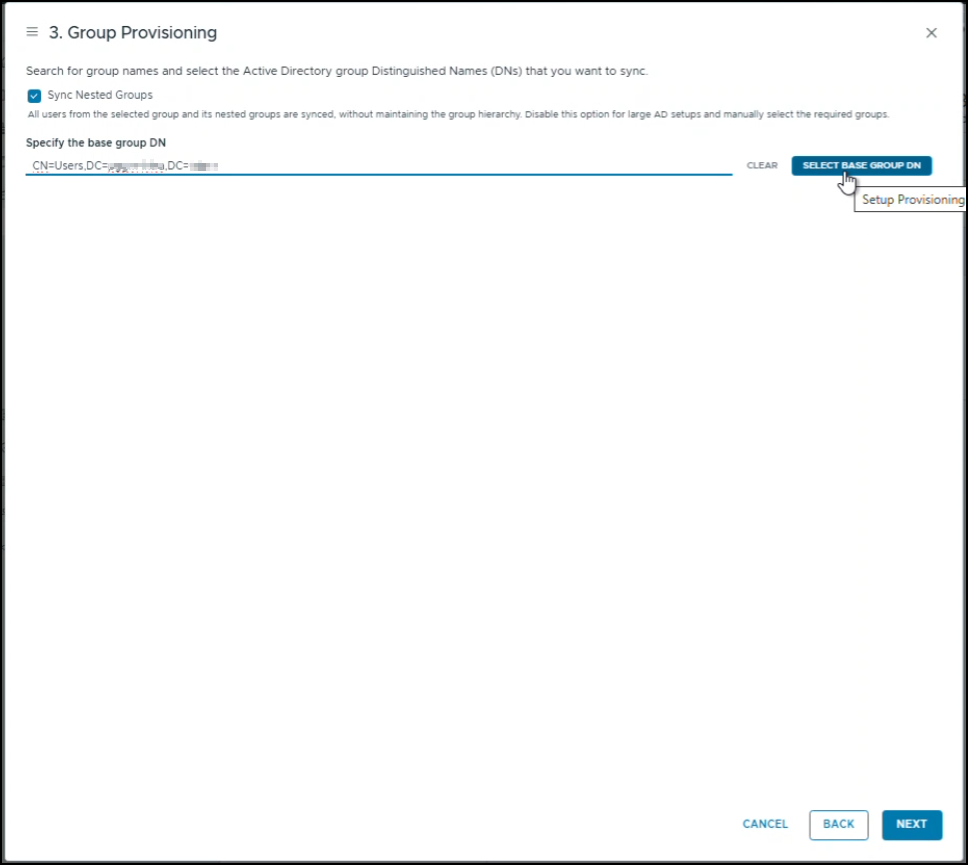
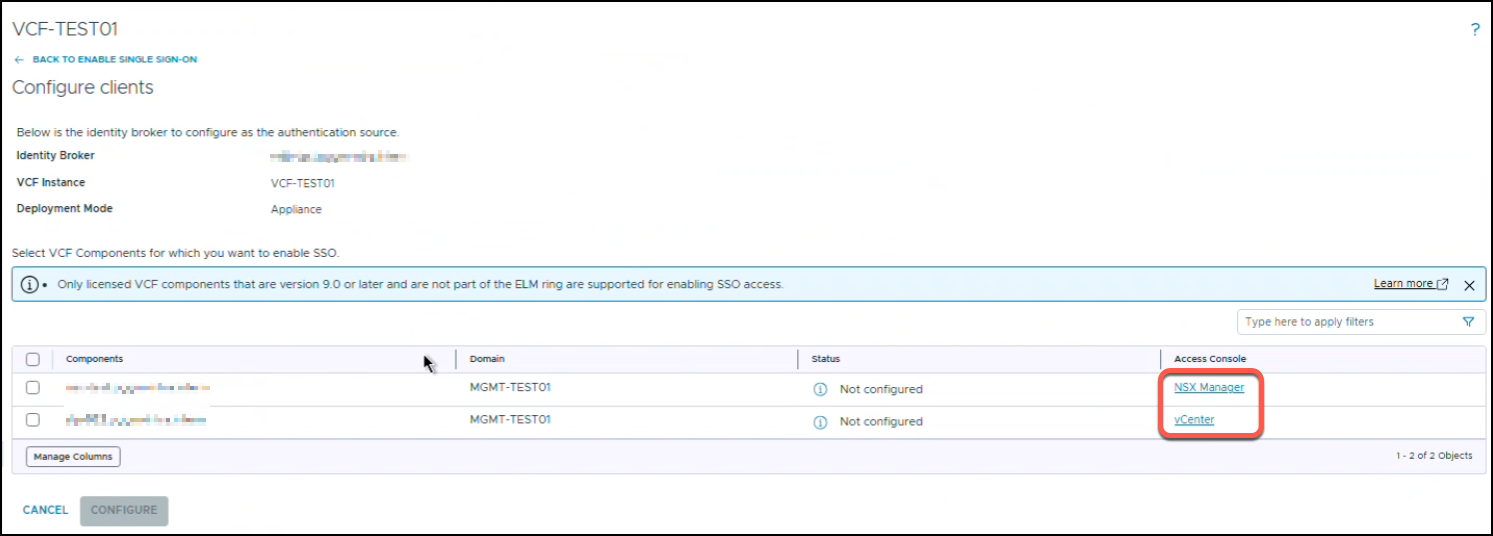
Review the configuration and register vCenter and NSX as clients of the broker.
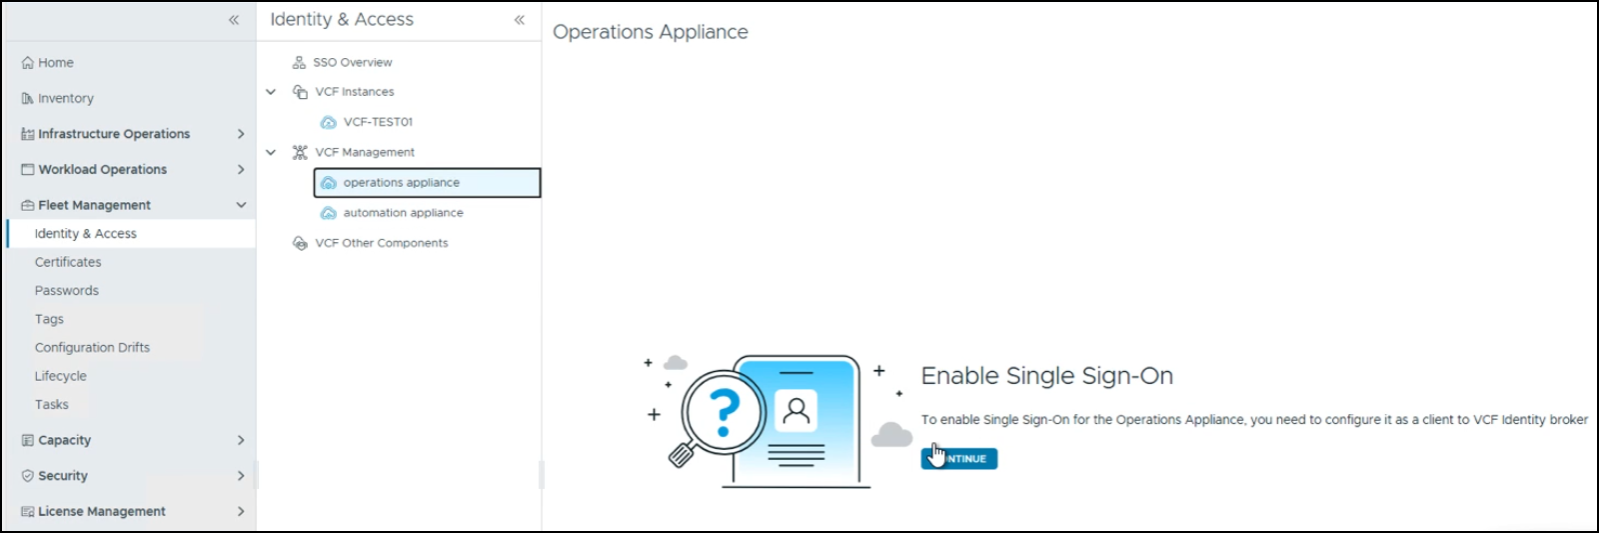
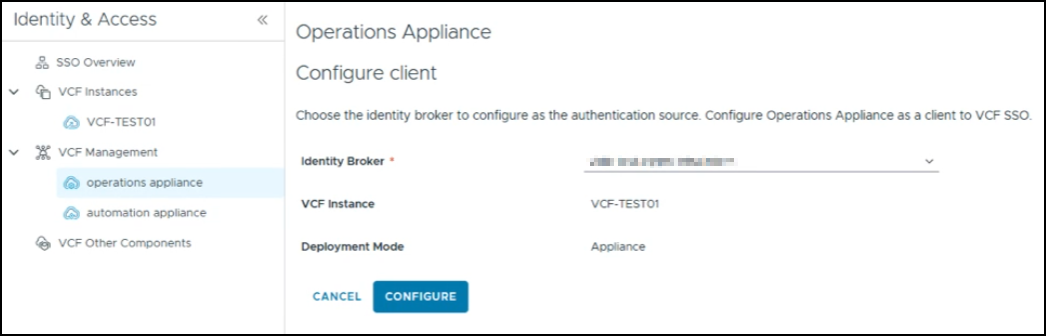
Step 9 – Enable SSO on Operations Appliance
Last, switch VCF Operations itself over to the broker. Roles must be assigned, because a directory user without a role can authenticate but has no access.
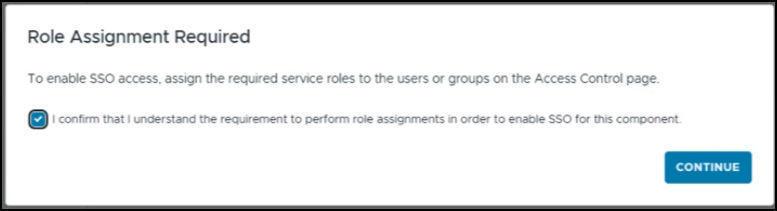

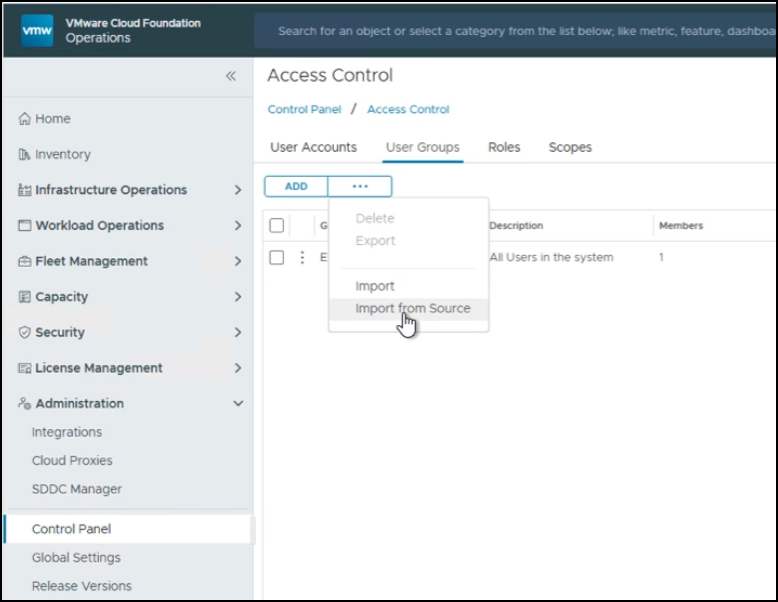
Then import the user groups from the LDAP source under Access Control and assign them a role.
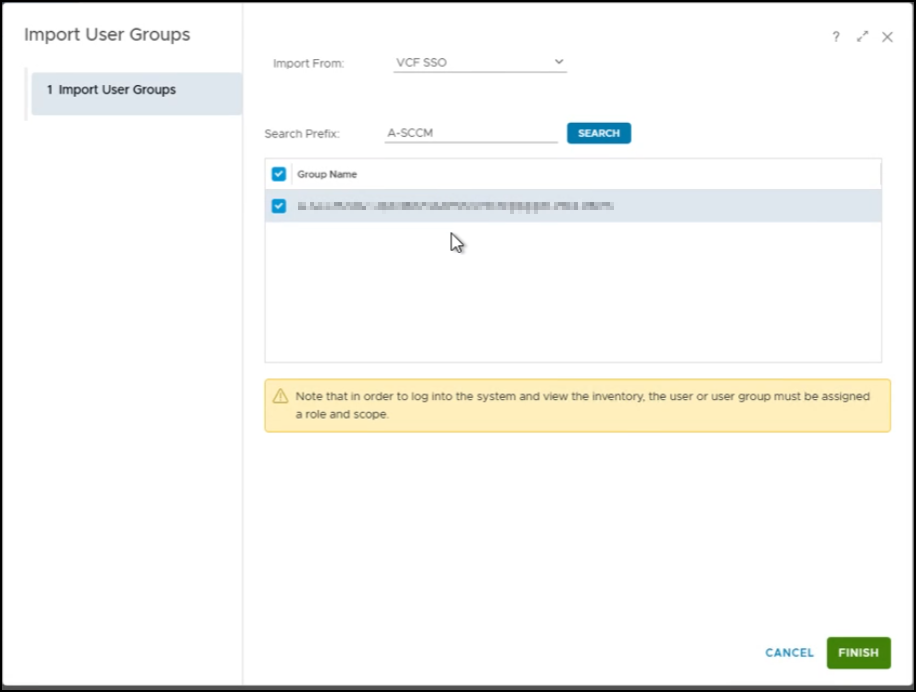
Verification
Log in with a directory account to each component: VCF Operations, vCenter and NSX. You will be asked to sign in with a secondary prompt.
Conclusion
You now have one identity source for vCenter, NSX and VCF Operations, with access managed through AD groups. Next steps: add more VCF instances as clients, tighten the role mapping, or plan certificate renewal for the broker.
Based on VCF 9.0.2. Screens and options may differ in other 9.x releases. See the official documentation
Deploying VCF Identity Broker and integrating it with LDAP centralizes authentication, simplifies SSO, and ensures secure access across your VCF management stack. Following this guide will help you reliably configure your environment for identity federation and operational efficiency.