This upgrade isn’t just another patch cycle — it’s a strategic pivot. VMware, now under Broadcom, has made it clear: the NSX-T embedded load balancer is deprecated and will be fully removed in future 5.x releases. Going forward, load balancing is delivered exclusively through NSX Advanced Load Balancer (formerly Avi), now positioned as a standalone product.
While some basic functionality may remain under standard NSX licensing, advanced features like WAF and GSLB require a separate Avi Enterprise license. In short, if you rely on modern app delivery and security, the path forward runs through Avi — and that makes managing your upgrade strategy more critical than ever.
As for the ever-changing naming conventions around this product… I had ChatGPT look into it:
| Year | Name | Notes |
|---|---|---|
| 2012–2019 | Avi Vantage or Avi Networks | Original name before VMware acquisition. Company founded in 2012. |
| 2019–2020 | VMware Avi Vantage | Transitional branding after VMware acquired Avi Networks in mid-2019. |
| 2020–2022 | VMware NSX Advanced Load Balancer | Integrated under the NSX umbrella; VCF support improved. |
| 2022–2024 | VMware NSX ALB / VMware NSX Advanced Load Balancer | Shortened variant common in documentation. |
| 2024–2025 | VMware Avi Load Balancer | Branding shift back to the Avi name — possibly to distinguish it from core NSX. |
Thus our VMware NSX Advanced Load Balancer will be upgraded to VMware Avi Load Balancer 🙂 Currently running 22.1.6, and aiming for 30.2.4, as released only recently.
The steps in this blog post show the Pre-Maintenance Steps (checks etc) and the implementation itself
However, before jumping straight into the content, some background for other releases and future would be nice
Future-Ready: Preparing for the Next Generation of Data Center Architecture
The planned upgrade of NSX Advanced Load Balancer (Avi) from version 22.1.6 to 30.2.3 is more than routine maintenance — it’s a deliberate step toward modernization and strategic alignment with the evolving VMware stack.
With the introduction of VMware Cloud Foundation 9 (VCF 9), VMware Broadcom is shifting toward a fundamentally redesigned network and infrastructure model, with the new Virtual Private Cloud (VPC) concept at its core. This architectural change places higher demands on the network layer — including native support in Avi version 31.1 and beyond. That makes it essential to begin moving toward a supported upgrade path today.
Although version 31.1 introduces key architectural improvements and native VPC support, it is still relatively new and not yet broadly validated in production environments. By first upgrading to the stable and VMware-recommended version 30.2.3, we ensure a controlled transition — with maximum compatibility, mature support, and fewer surprises. It also allows us to monitor real-world adoption of 31.x and plan our next upgrade based on proven readiness.
By upgrading now to the stable, VMware-recommended version 30.2.4, we’re laying a solid foundation for:
- A smooth and tested upgrade path to Avi 31.x once it becomes production-ready
- Future integration with VCF 9, including support for the VPC model
- Better lifecycle alignment with NSX, vSphere, and SDDC Manager
- Reduced technical debt, legacy configuration, and support risks
- A more flexible, modular network architecture — ready for further automation, segmentation, and Zero Trust adoption
This approach helps us stay firmly in control of our current environment, while creating space to adopt future innovations more quickly, securely, and with minimal disruption.
Interoperability
Check the new version compatibility (30.2.4) using the VMware Interoperability Matrix . This is a common step before uploading the update packages.
Download the update package
- Download location: support.broadcom.com
- Login > My Downloads > VMware Avi Load Balancer 30.2.4
- Agree with the Terms and Conditions
- Download the “Upgrade – VMware / OpenStack / AWS / KVM / CSP controller-30.2.4-9071.pkg (4.1 GB)” file
Validate cluster members are healthy
- Open a browser and navigate to the NSX ALB controller cluster VIP and login with your SSO credentials.
- Navigate to: Administration > Controller > Nodes
- Validate all controller have state “Active” and the controller cluster status is green (UP)
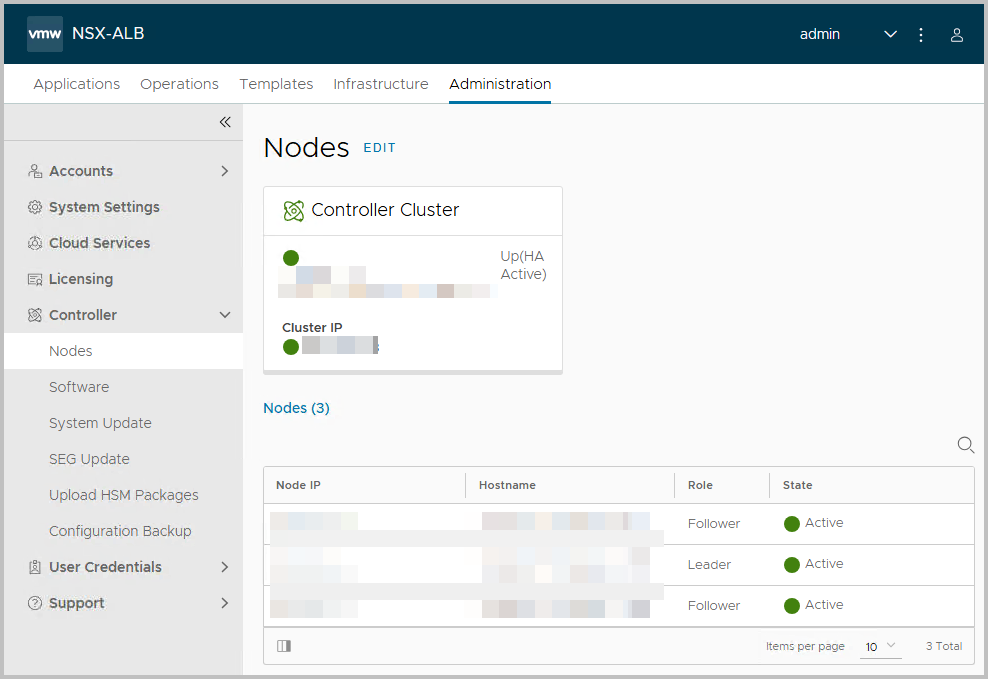
- Note: you can clearly see which one of the three nodes is primary, the leader.
A suggestion is to make a cold snapshot of each node prior the upgrade. You can easily do this without any harm, since the Service Engines will keep running.
Validate NSX ALB configuration backup
In case you have Backups configured, it’s a good measure to check these on beforehand:
- Open a browser and navigate to the NSX ALB controller cluster VIP and login with your SSO credentials (ruisnaam only).
- Navigate to: Administration > Controller > Configuration Backup
- Validate that the last backup is made within 24 hours ago and that the status is successful
Upload the controller and patch images
- Open a browser and navigate to the NSX ALB controller cluster VIP and login with your SSO credentials (ruisnaam only).
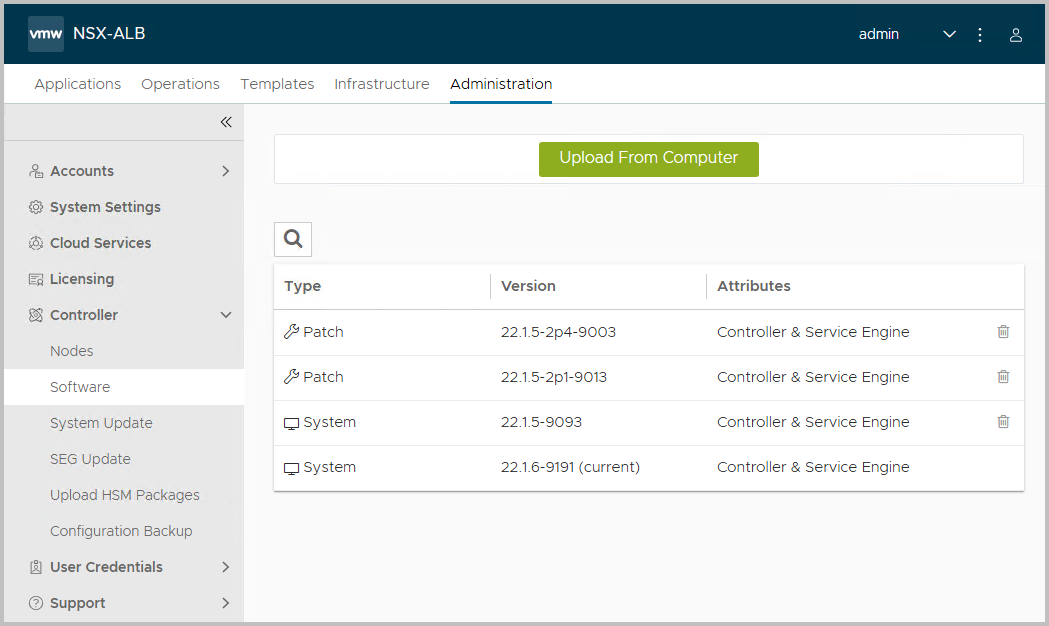
- Navigate to: Administration > Controller > Software >
- Upload the controller (and in some cases the patch image) to the software repository
- Click Upload From Computer > Select the File
- The upload of file controller-30.2.4-9071.pkg is proceeding
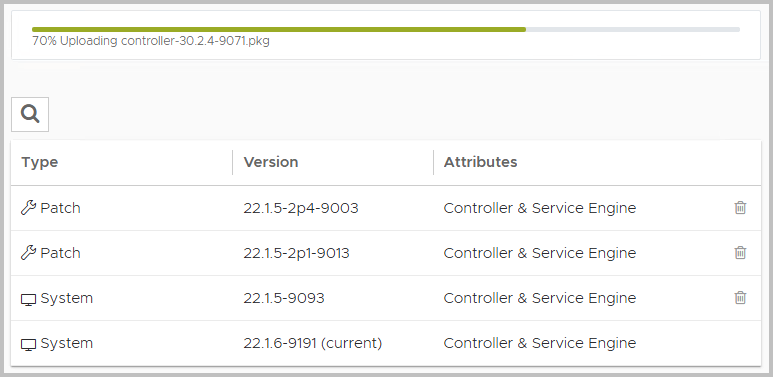
- The upload has been processed: the 30.2.4-9071 release is visible now
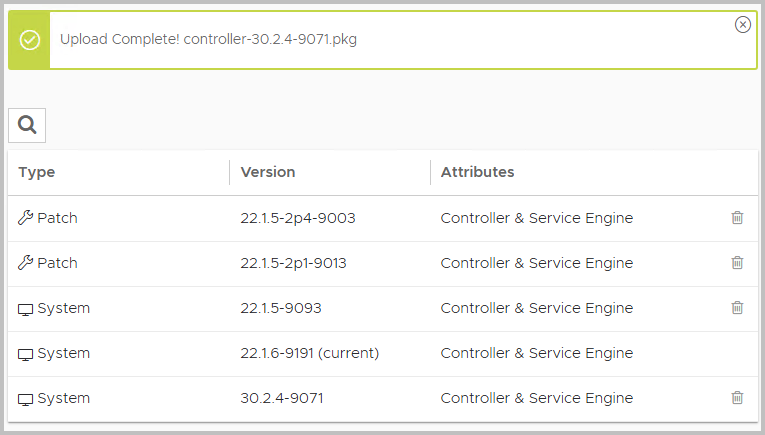
- Note: it is advised to remove the old unused packages to free up disk space
- This is the best moment to create cold snapshots for your ALB appliances.
Validate controller cluster virtual machines are of correct size
- Sometimes during the lifecycle of the product the dimension of the controller cluster virtual machines should be adjusted.
- Ensure the CPU and memory of all Controllers comply with minimum recommendations. For VMware Avi Load Balancer the memory requirements had been adjusted (from 24GB RAM) to 32GB RAM. Otherwise, the upgrade will fail later on.
Validate sufficient diskspace
- Open an SSH session to the NSX ALB controller cluster VIP and login with admin credential
- Validate that there is sufficient free diskspace available. You can use the Controller Sizing documentation for this.
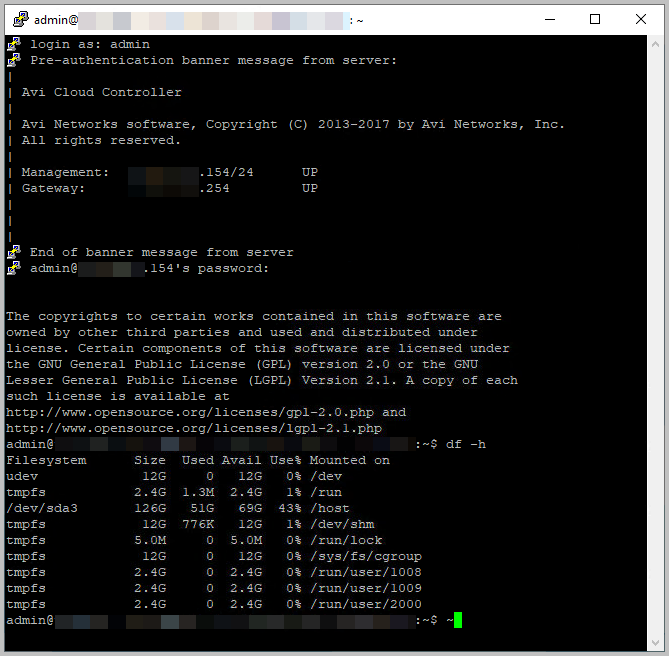
- If the disk usage is more (greater than 80%), look for any core archives or packages uploaded to the Controller nodes and clear them.
- Core archives are under /var/lib/avi/ archives.
Upgrade
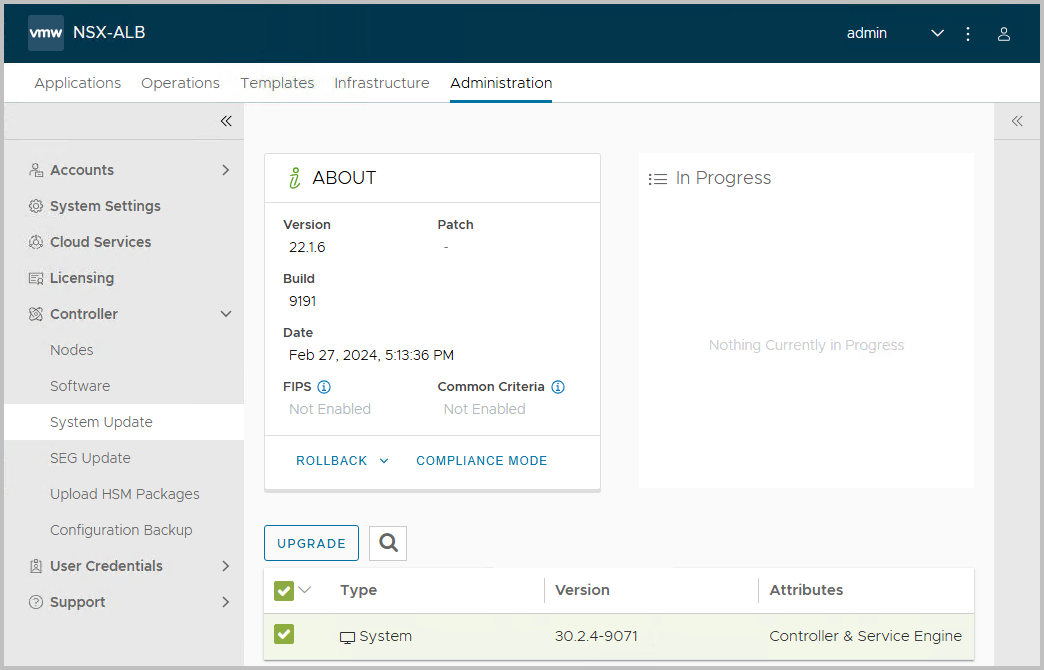
After all prechecks, you can find the Upgrade button available under System Update.
- Under System Update, confirm the current configuration and
- Press the Upgrade button
- A checklist pops up. Please verify this for your own sake. However, the upgrade process will do this as well. Note that in this window, you can allow the process to upgrade the Service Engine groups after the controllers are upgraded. In the remainder of this blog post, we will update the Service Engines through the GUI ourselves.
- Click Continue
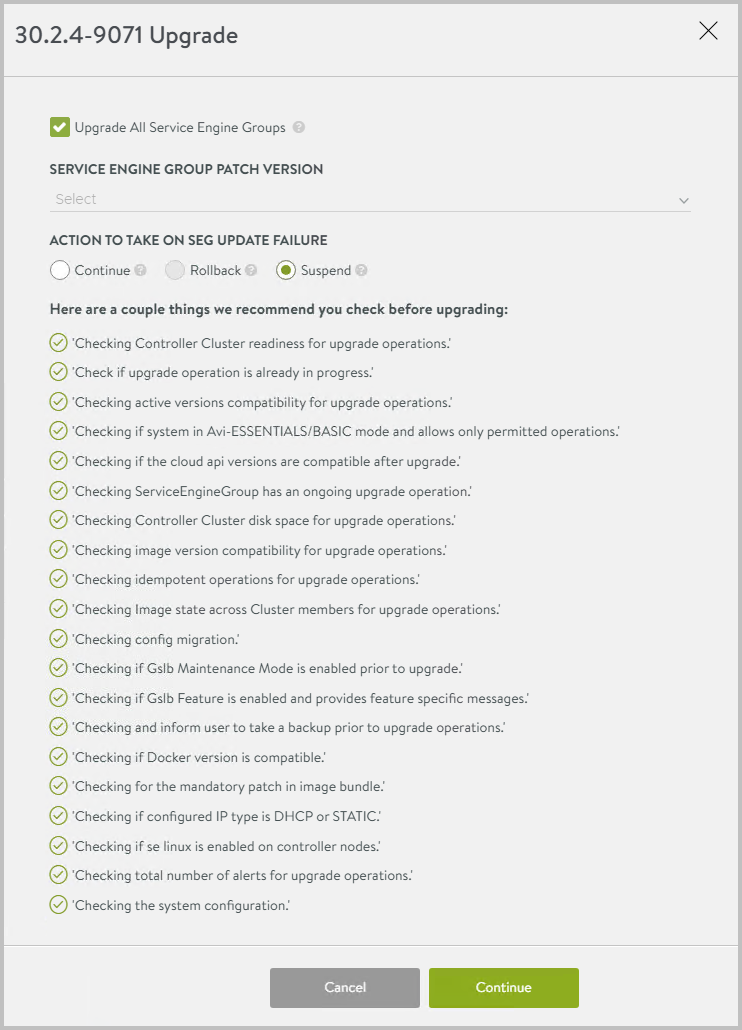
- As said: the pictures that follow take into account the option to Upgrade the SE’s separately

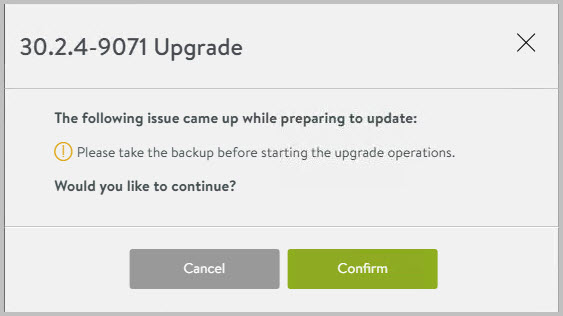
- In case the backup is not recent, you are notified
- In this case the Service Engines will be updated after the controllers are updated.
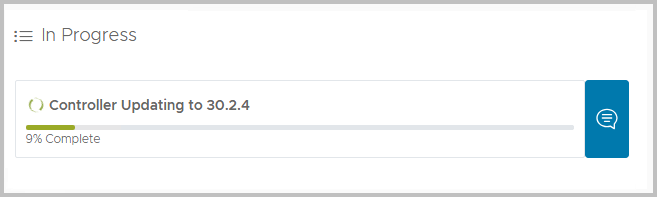
- A few minutes in, you will notice that the service is not available: this is known behaviour; the appliances are updated (in parallel), and the VM’s will be restarted eventually. Please open the VM’s console to confirm its process.
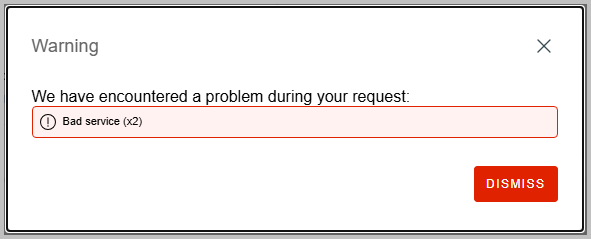
- A warning such as this one can be presented. As said, this is know behaviour.
- In ten minutes, you will notice that all controller nodes will show a shutdown, probably to install the new software.
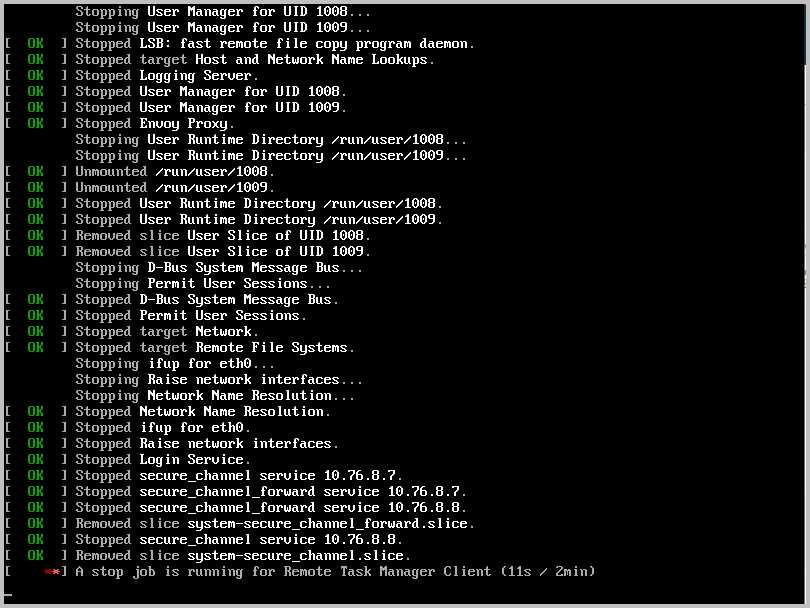
- Eventually, the VMs are restarted. This can take up to 20 minutes, so be patient!
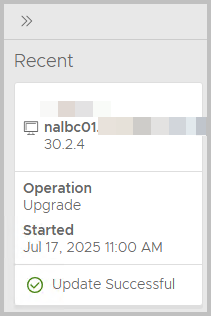
- You can login to the VMware Avi Load Balancer web page, and can confirm the appliance got upgraded!
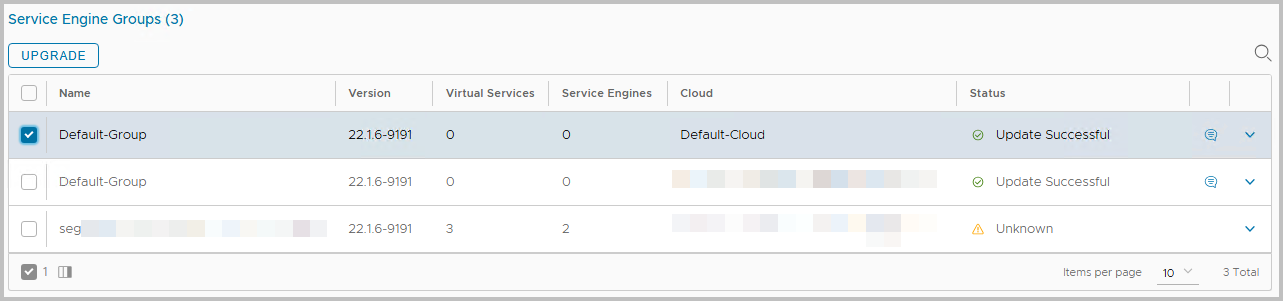
- Moving along the complete process, you will need to upgrade the Service Engines as well. For this, navigate to Administration > Controller > System Update. You will see that the Service Engines have not been upgraded. You can select the Service Engine Group(s) manually and start the upgrade through the GUI > Click Upgrade
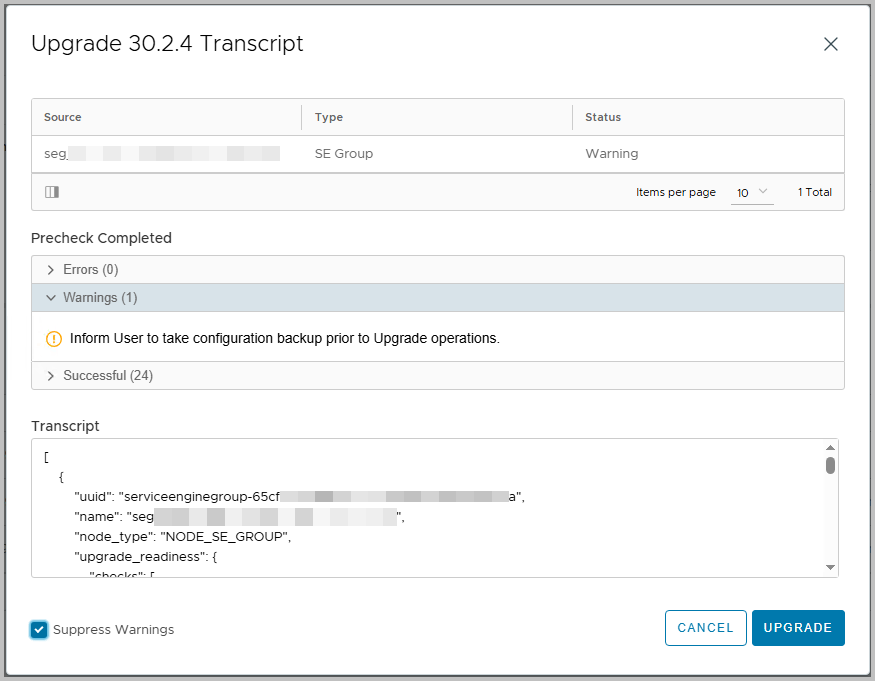
- Sometimes, the user needs to take action. In this case, confirm to Suppress Warnings (bottom left)
- Eventually, all Service Engines are upgraded and you are ready!
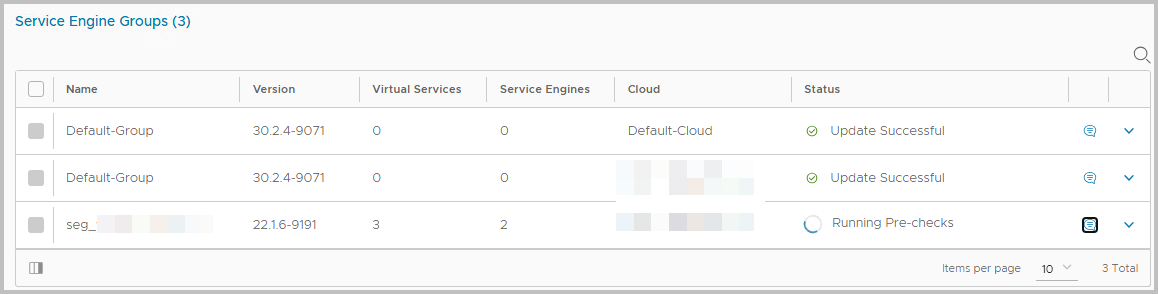
- Good job!
What to do next?
- Check your current version – Make sure you’re not stuck on a release with limited lifecycle support.
- Plan your upgrade path – Move to 30.2.x now to position yourself for Avi 31.x when it matures.
- Evaluate licensing – Know what’s included in your NSX entitlement and what requires an Avi Enterprise uplift.
- Align with VCF 9 – Prepare your infrastructure for the upcoming VPC-native architecture.