This blog post will show you the steps required to update NSX to release 4.2.1.0 from the GUI, in a manual step-by-step process.
During the update you need to download the upgrade bundle file, a 8+ GB large file. You can download it through the NSX-T GUI, or through the VMware Broadcom portal
Download the Upgrade Bundle and precheck files. Filenames:
- VMware-NSX-upgrade-bundle-4.2.1.0.0.24304122-pre-check.pub
- VMware-NSX-upgrade-bundle-4.2.1.0.0.24304122.mub
Confirm the downloaded files through the MD5 checksum through PowerShell:
certutil -hashfile .\VMware-NSX-upgrade-bundle-4.2.1.0.0.24304122.mub
MD5 hash f56267209703474c6bbff8c960bce4e1
Check both MD5 hashes for a correct downloaded file.


Login to your NSX environment and go to System > Lifecycle Management > Upgrade
Click the Upgrade button, the big one; can’t miss it
Check Upgrade Readiness
The first step of the NSX Upgrade is running the Upgrade Readiness Check. For this, you need to upload the previously downloaded pub (Pre-Check Upgrade Bundle) file.
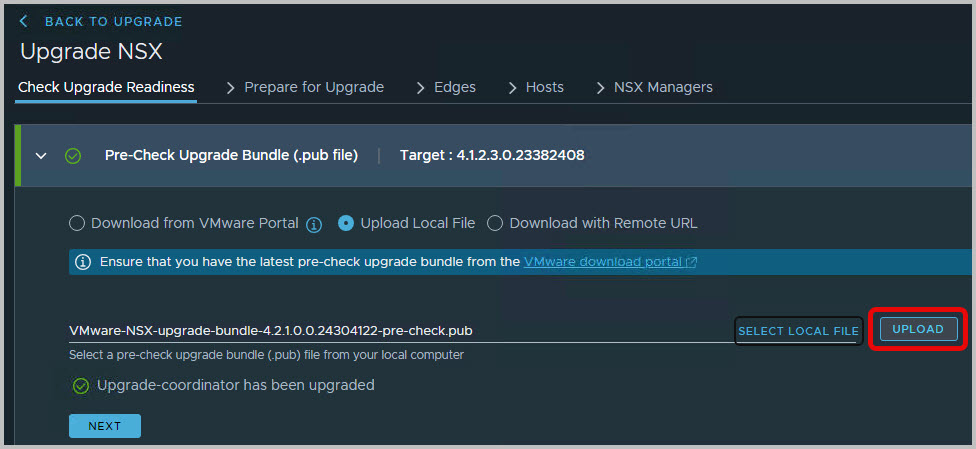
Upload the file, and check its progress as it runs through the worklflow
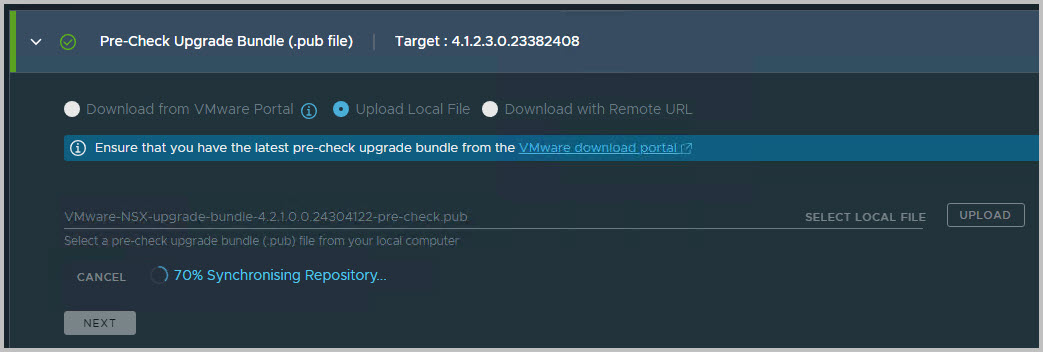
It is good to know which steps are involved during this stage of the upgrade.

Once uploaded, you are ready to run the Pre-Check for the separate components, such as the NSX Edges, Hosts and Manager itself. This is as easy a running some simple queries to highlight some issues in your environment posing a potential failing upgrade. Click the Run Pre-Check button to start.

The pre-checks might take some time to complete.

Note that the actual upgrade takes place after the pre-check in phases, thus not as a whole, in one go. This means the NSX Upgrade (phases) can be planned on beforehand with your (internal) customers/tenants.
Note you can always come back to this part of the upgrade, through System > Lifecycle Management > Upgrade
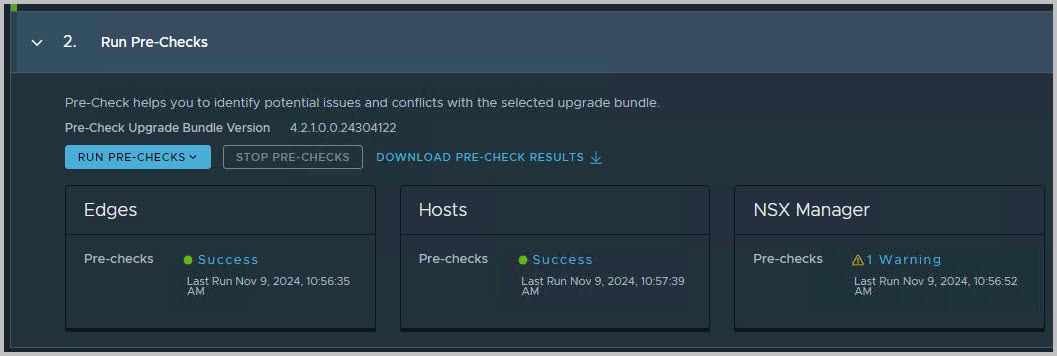
The outcome of the Pre-Check should not be taken too lightly. Try to address all steps of the outcome first before proceeding to the next phase. Make sure the pre-checks are successful, or otherwise know why you would choose to acknowledge the warnings
You finished the Upgrade Readiness Check! You can proceed by clicking Next in the bottom right corner.
Prepare for Upgrade
The second step of the NSX Upgrade is to Prepare for Upgrade step. For this, you need to upload the previously downloaded mub (Main Upgrade Bundle) file.
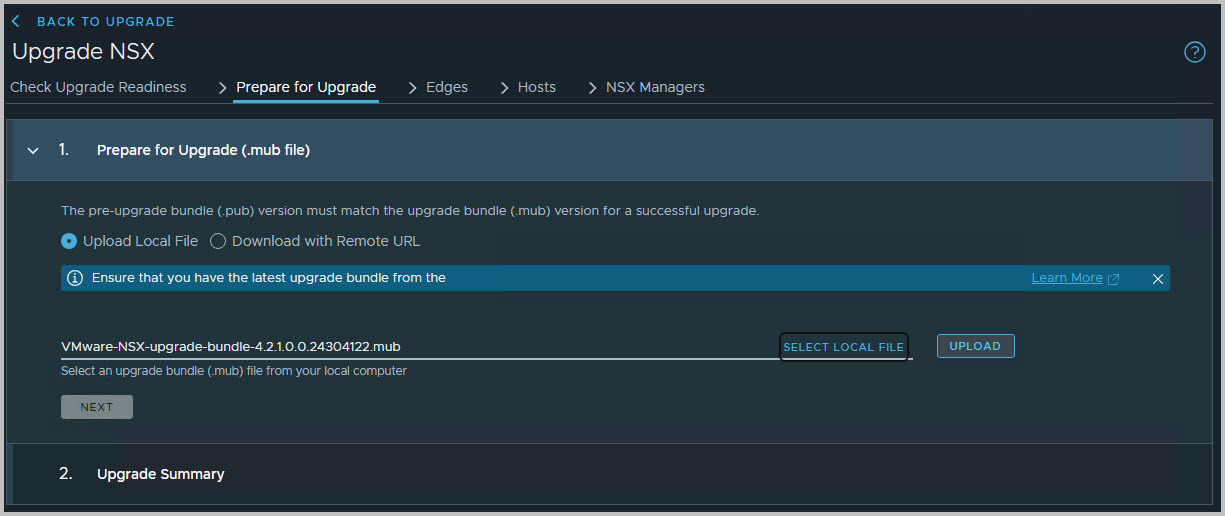
Upload it and check the steps in the workflow. This does take time as the file itself is large, requires decompressing on the primary NSX node, as well as distribution of the packages. For this, check the screenshot below. It is nice to know which steps are involved in this phase of the upgrade.
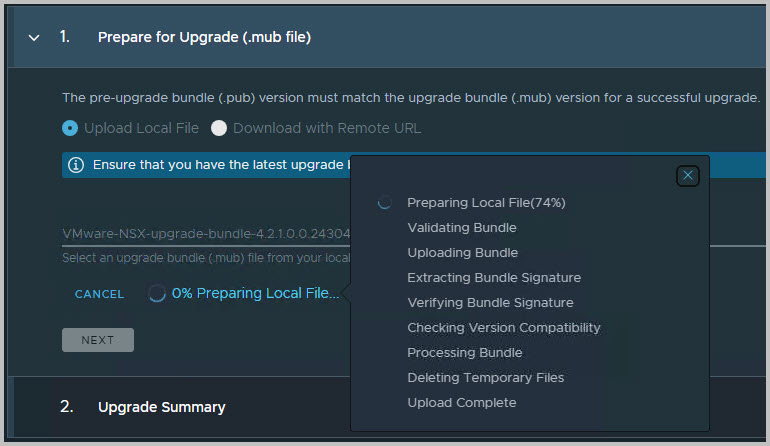
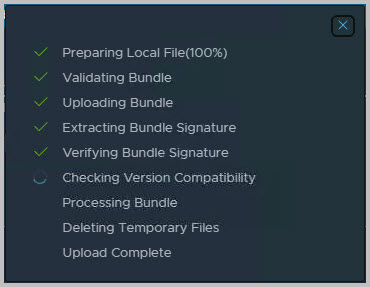
It is good to know that the previous steps can be best implemented before maintenance has been discussed with your customers, tenants.
At this stage we have not really started the upgrade.
The Upgrade phases
Then run the Update phase itself. You can distinguish the following sequential phases. However, in each phase can be implemented in a step-wise manner; you can always go back to finish/continue a phase.
- All Edges in parallel
- All hosts sequentially
- NSX Manager
Upgrade Coordinator
The first phase is the Upgrade Coordinator deployment/installation. Click Begin Upgrade.
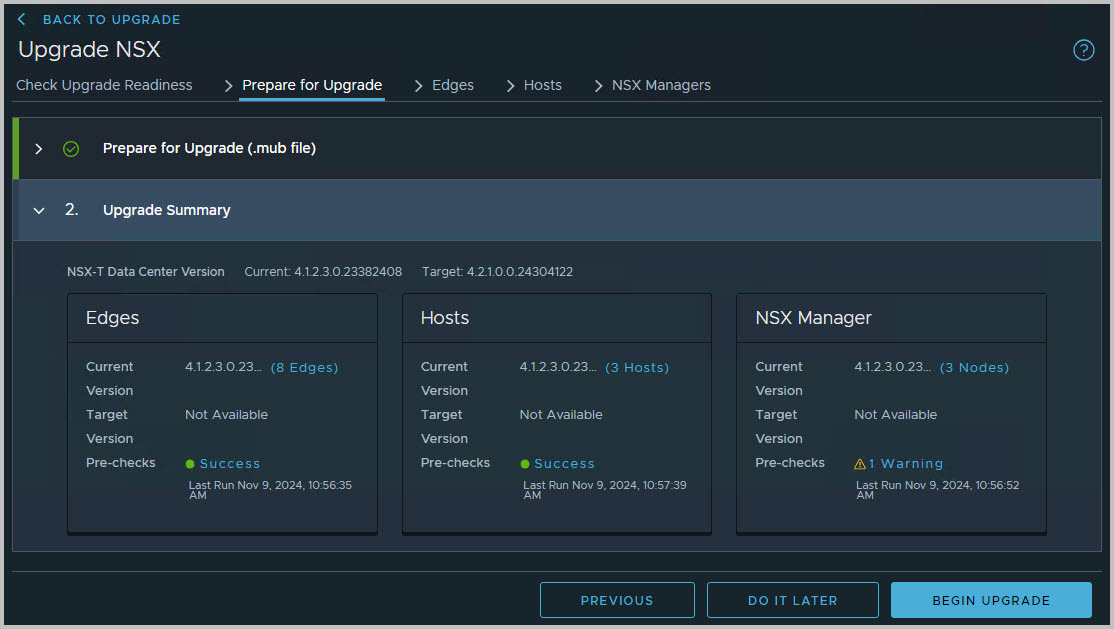
Just wait some time, until this completes. This phase has no customer impact; it is just the installation of a tool to take care of the upgrade.

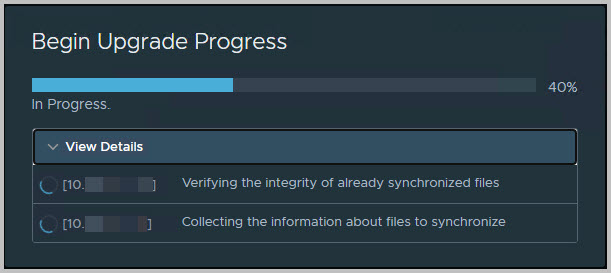
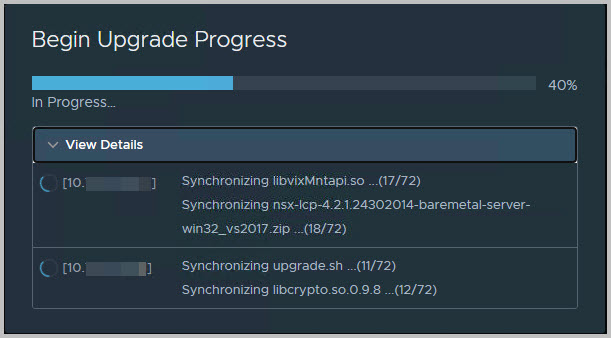
Now this is completed, the first actual phase can be started: the NSX Edges
Update > NSX Edges
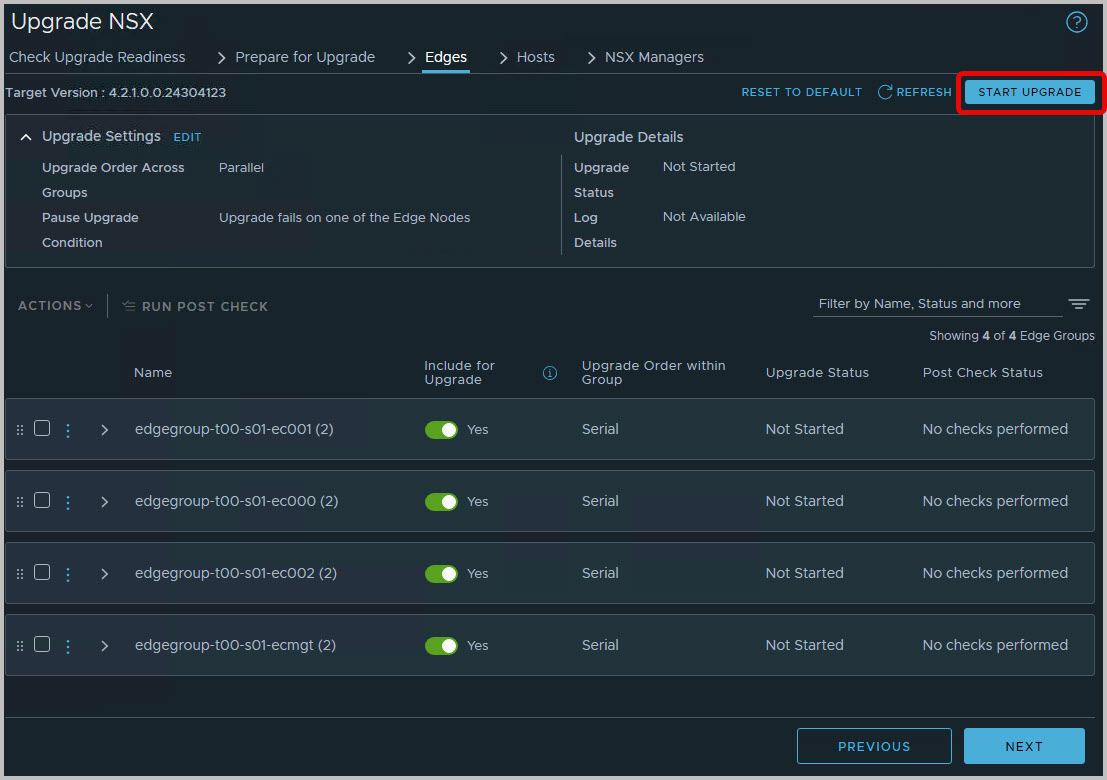
Check the Upgrade Settings: parallel or serial. Normally the parallel options works flawlessly. However, if you would like to upgrade the NSX edges one-by-one, or in a way as specified by you and/or your customer, you can select which edge (clusters) to upgrade. You can use the Include for Upgrade button here to (de-)select the NSX edges.
Click Start Upgrade
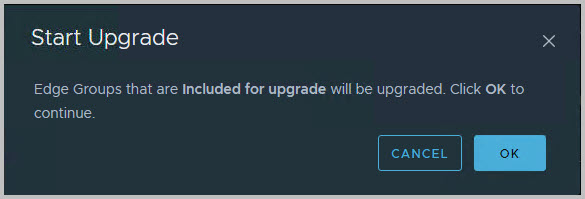
Click OK to start the upgrade.
All selected (Include for Upgrade) Edge Groups are updated sequentially or in parallel, as specified in the main window. You can follow its progress through the Upgrade User Interface here, or easily open up a new tab and navigate to System > Fabric > Nodes > Edge Transport Nodes.
From this Edge Transport Nodes view you can see the progress as well; each node is put in(NSX Maintenance, is Upgraded and will probably be a Success). Also note that the available tunnels will also be impacted during the Edge node/cluster upgrade, meaning the tunnels will partially be lost.

Once all Edge Groups, nodes/clusters are upgraded, you can navigate to the next phase: Hosts
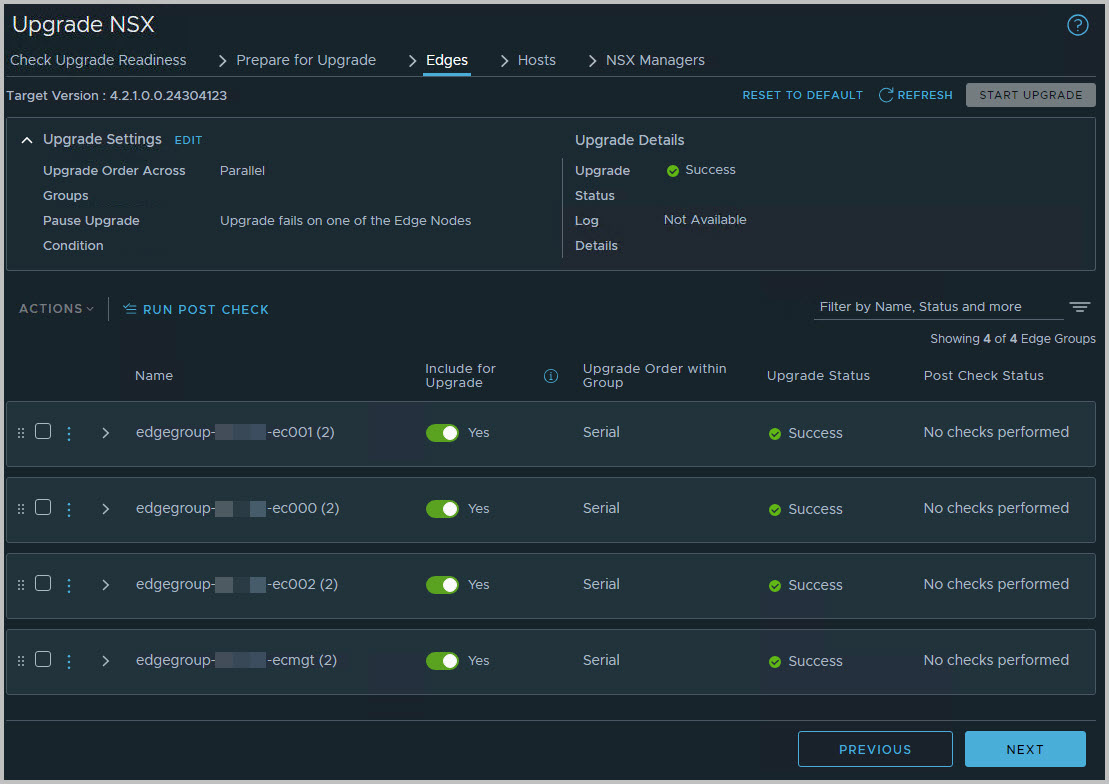
Click Next
Update > Hosts
In the NSX Host part of the Upgrade, you will update the NSX Host VIBs, the NSX Host Installation Bundles. Just like with the Edge clusters, you can specify which host group to include during the upgrade. During the upgrade, a sequential process within a Group, each single node of the NSX (ESXi) host cluster group will be put in (vSphere) Maintenance Mode. The Host VIB is updated, and the ESXi host is put back in production.
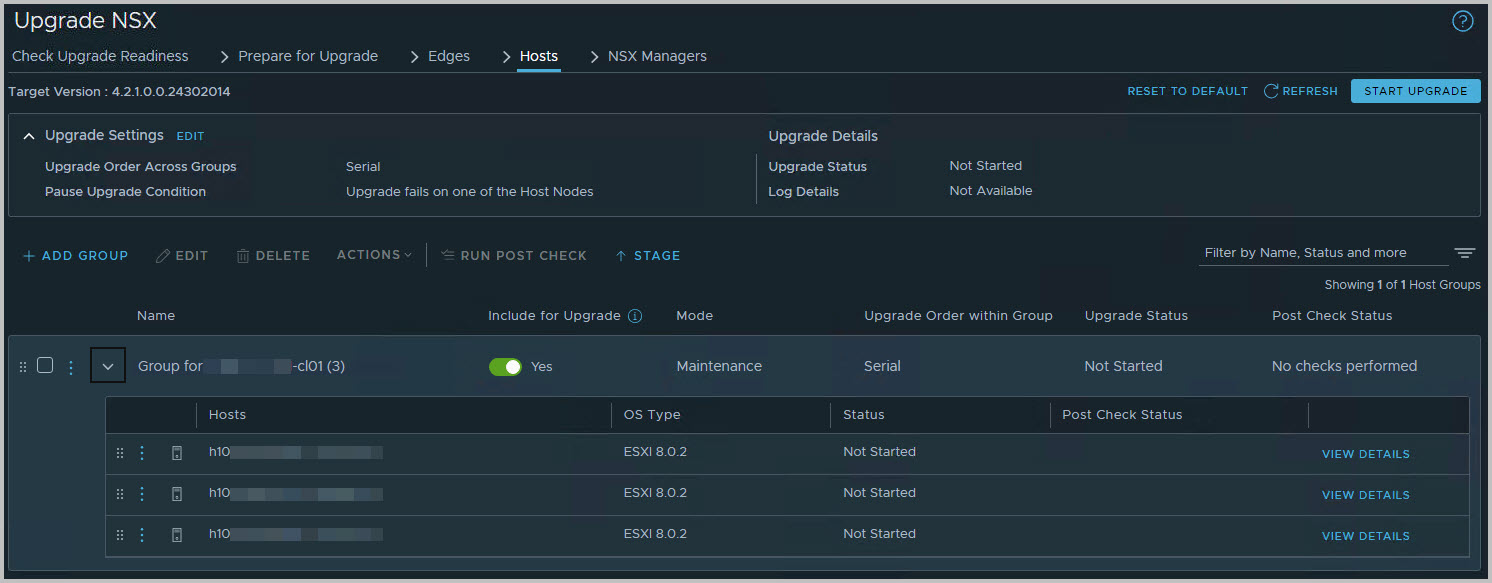
From the Upgrade Settings, you can also specify whether to upgrade host clusters in parallel or in serial. You also have the option to include/exclude clusters.
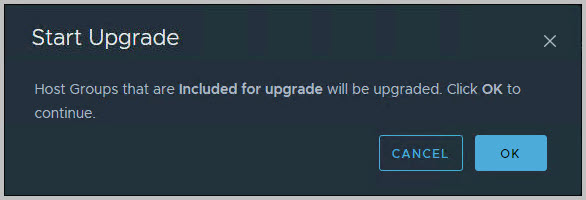
Click Start Upgrade and OK
To monitor its progress, you can keep track of the NSX Upgrade GUI, or take a look at the vSphere Client.
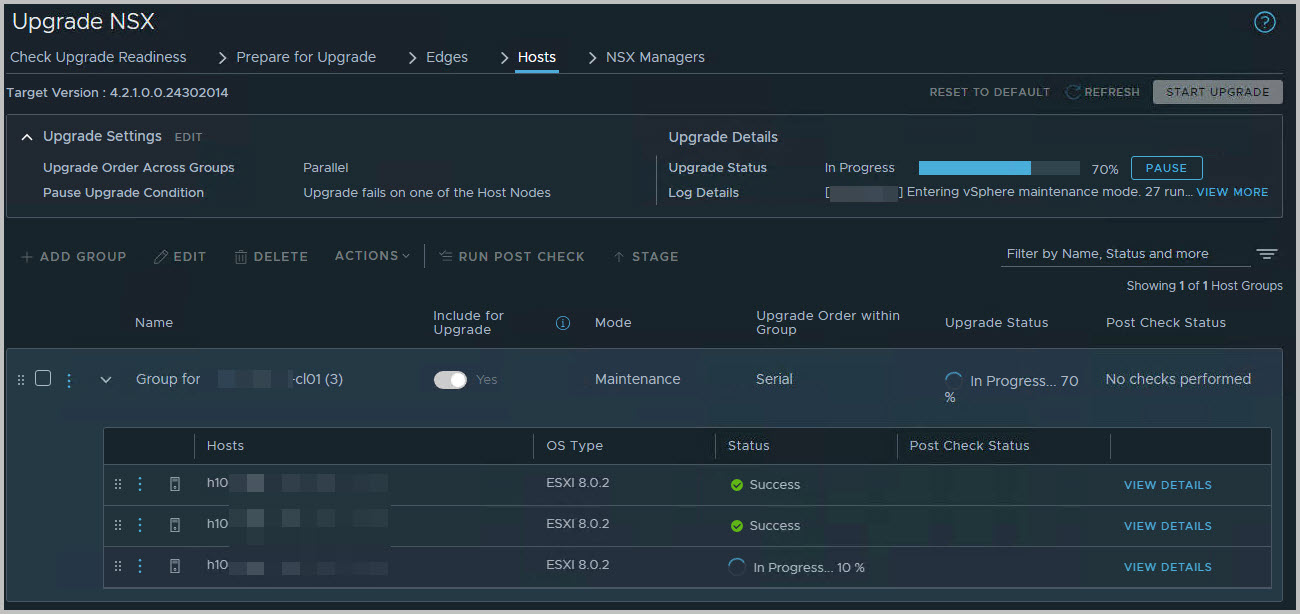
Per Transport node, you can view the process as well. Look in System > Fabric > Hosts > Clusters > Navigate to Host, right column, select View Details. Find the Configuration State and look at its progress
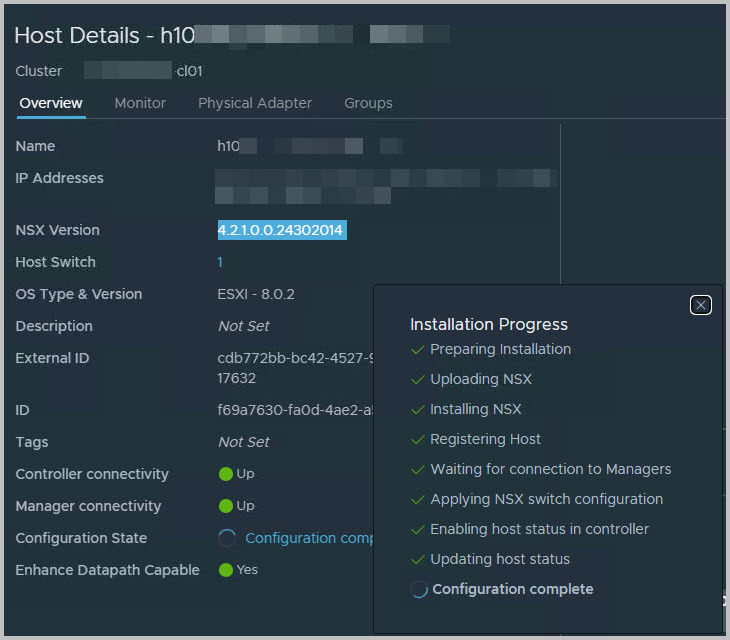
You can move on with the other Transport Nodes, and eventually all NSX VIB installations complete for all hosts.
In normal environments, you can inform your customer about the potential vMotion impact this upgrade will have, but normally, nothing more.
The next phase is the NSX Manager itself. Click Next to navigate to the NSX Managers page.
Update > NSX Manager
Upgrading the NSX Manager is the last phase of the NSX Upgrade, and takes the least time of all phases. However, the connection between NSX Manager and other services, such as NSX Advanced Load Balancer, vCenter Server and/or VMware Cloud Director will be disrupted during the upgrade. You will need to involve customers/tenants for this!
Click Start Upgrade. The following steps can be seen (below)
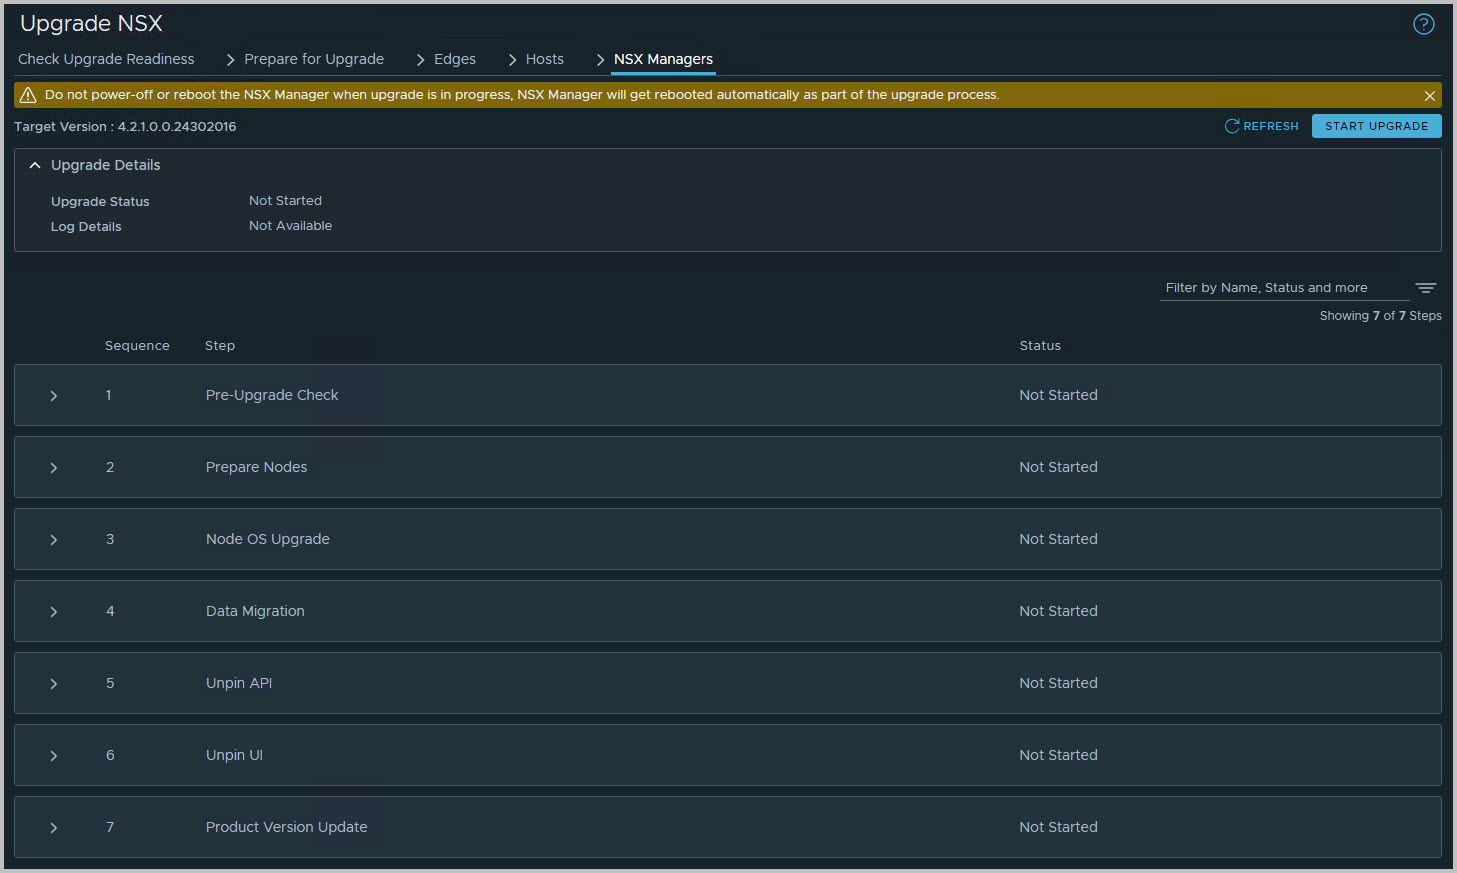
The Node OS Upgrade is the main part of the upgrade, and takes most time of all these steps, about 15-20 minutes per node. Each node is upgraded and restarted. Note that it is a good practice to use at least two active (direct-node) connections to monitor the NSX Manager upgrade itself. Eventually, a node will restart, and the Virtual IP, VIP, is temporarily impacted.
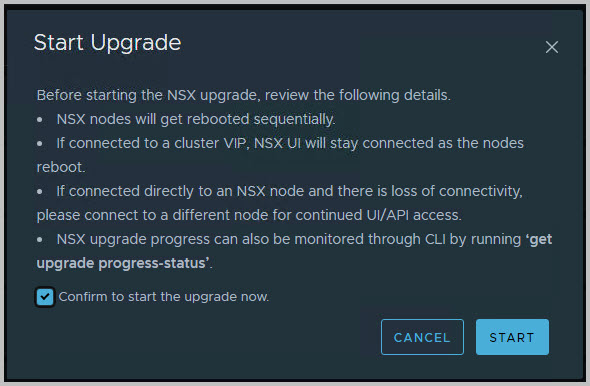
As you can see, you can monitor the NSX Manager upgrade process itself.
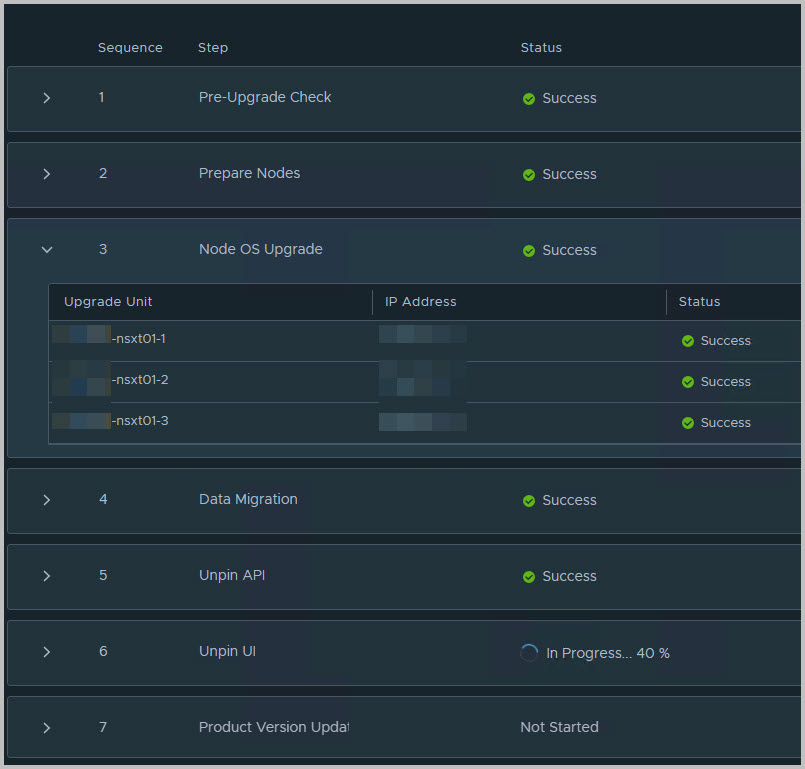
However, you can even monitor the progress through the NSX Manager (node) CLI by running
get upgrade progress-status
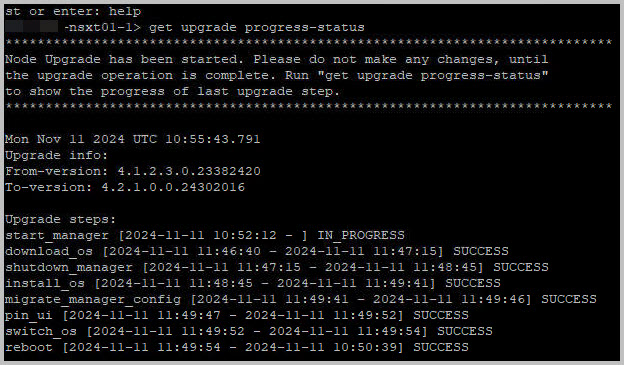
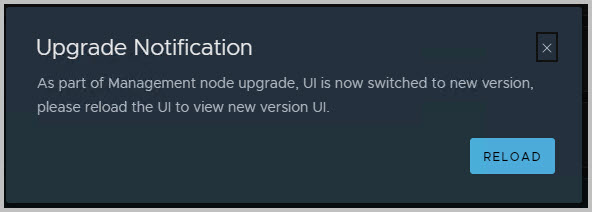
Eventually all steps are finished, completed, and you will be notified to Reload the UI.
You will find the upgrade is completed.
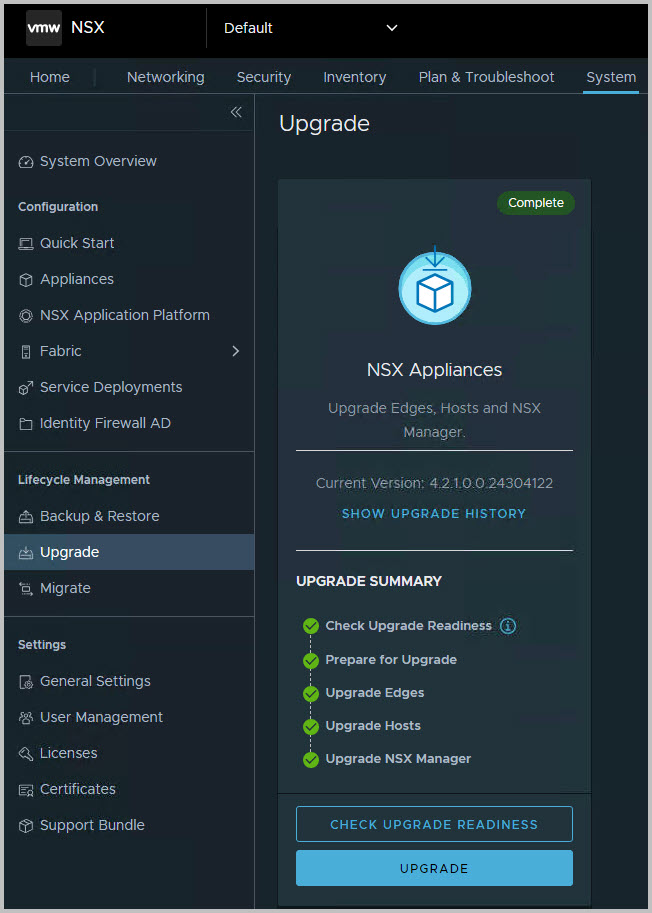
I’m very proud of you 😀
